update

Cryptic Woodworks Weekly Update for 26 Aug 2018

Drill Press Table - Editied Small.jpg

Hey, I've got a new drill press table!  If you read last week you'll know I was working on a new table but I ran out of 1/4x20 t-nuts and had to wait for them to show up.  Thanks to Lee Valley I had them in hand by Tuesday and was able to finish up the main table.  I already like it and I haven't even had to really use it yet.  With all the mounting points I can use every jig from my table saw sled here as well.  Just having all the toggle clamps available is so nice.  I milled out the center to take 4x4 inch pieces of 1/4" material so I can both rotate and flip them as they get chewed up.  I made a few out of some scrap pine.  The fence is pretty dirt simple, straight piece of baltic birch ply with a few slots cut it in - just move it around as needed.

Cross Slide Vise Mounting - Edited Small.jpg

Next up came a plate to mount my cross slide vise on that would also have holes to mount on the table.  I like having the cross slide and I think I'll use it more now that it's easier to mount.  It was a simple job, just lay out some holes to put some bolts that lined up with the mounting points on the vise, drill out some recesses with a forstner bit and the bolt the vise to the board.  Before you bolt it, though, drill holes that will line up with the holes in the drill press table.  I used my CNC for that to get them really precise.   Now, whenever I need the vise is a simple task to pop it on the table and lock it down.  I have been asked a few times if I mill on the drill press and the answer is no. Drill presses are terrible mills - you could damage the machine or have a chuck fly off and maybe get hurt.  But these vises can hold all manner of small things and move through the x-y axis nice and straight.  

I spent a lot of time this week on writing my upcoming article.  So that consumed most of my shop time.  I still consider writing about woodworking to be woodworking, though!  It's coming along nicely, at least I think it is.  I've never written a magazine article before.  

Final Button Box - Edited Small.jpg

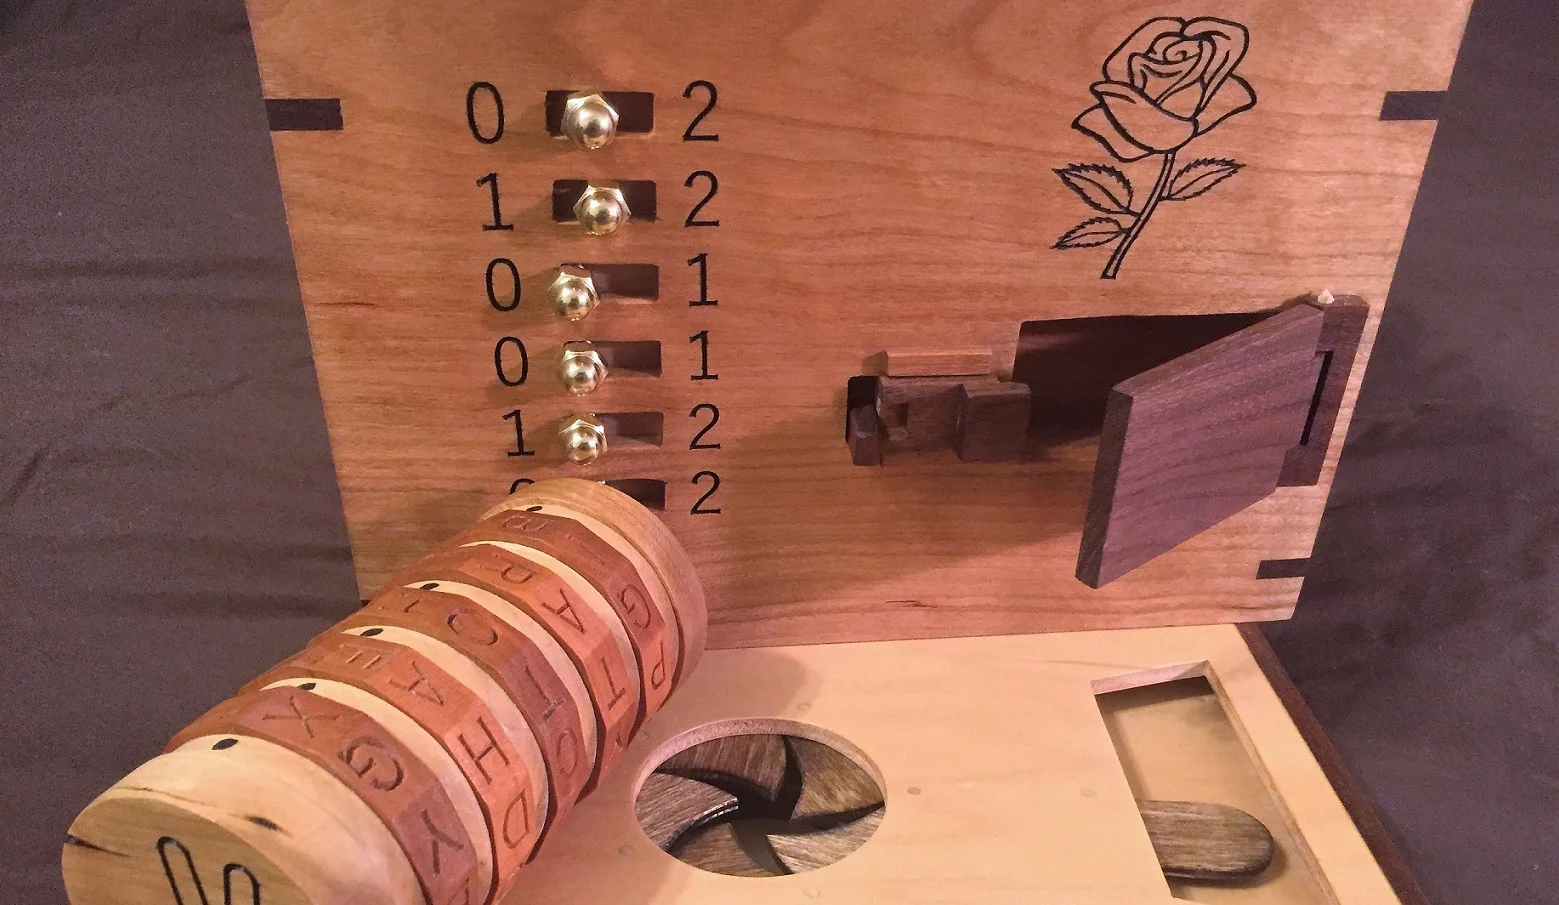
I wrapped up the week dusting off my last remaining copy of The Button box.  This has been on the shelf a while.  It needs two new parts created, which is why it got shelved earlier.  These are just the slide locks and aren't a very difficult job, just a bit tedious to make sure the match up.  The original two were a slight bit short I didn't like how they worked.  Once those are done, I can put some oil on and then top coat.  This box is already spoken for, hence why I'm wrapping it up.  I just always seemed to be working on something else and never got back to this one.  Hopefully it'll be ready in a few weeks.  Feels good to finish this one up.  This was a fun run of boxes where I learned a lot.

On a slight side note, I wonder if anyone else has been on a walk in the woods, looked at all the trees and sighed, knowing you can't use any as lumber?  I love hiking and being out in the woods, but sometimes you see such great trees and know they have good lumber!  But we can't use it all.

Until next week, stay dusty!

Week Ending 03 June 2018 Update

This started out looking like it another week that was going to make getting into the shop tough.  And that proved correct.  Monday was a holiday here in the US, Memorial Day, and then it was back to work.  The day job was just nuts and I had to work every night, so there went any possible shop time.  Hopefully this will let up so I can get back to the fun.

Engagement Box Side Catches.JPG

The weekend opened up and gave me some work time, even though the weather on Saturday was beastly hot and humid and it was June 2nd.  I didn't like the new side catches for the engagement box - they worked fine but thew were a tad jiggly.  So I made a new set that were a tad (like 3/32") longer, fit them and finished them.  I like the fit much better, there is a lot less play and I left them a tad tight in case I want to sand them ever so slightly.  They should work much nicely and look and feel great.  There is still the hole under it that used to hold the screw attached version, I haven't decided if I'll just leave it, since it's mostly hidden or maybe fill it with some colored epoxy.

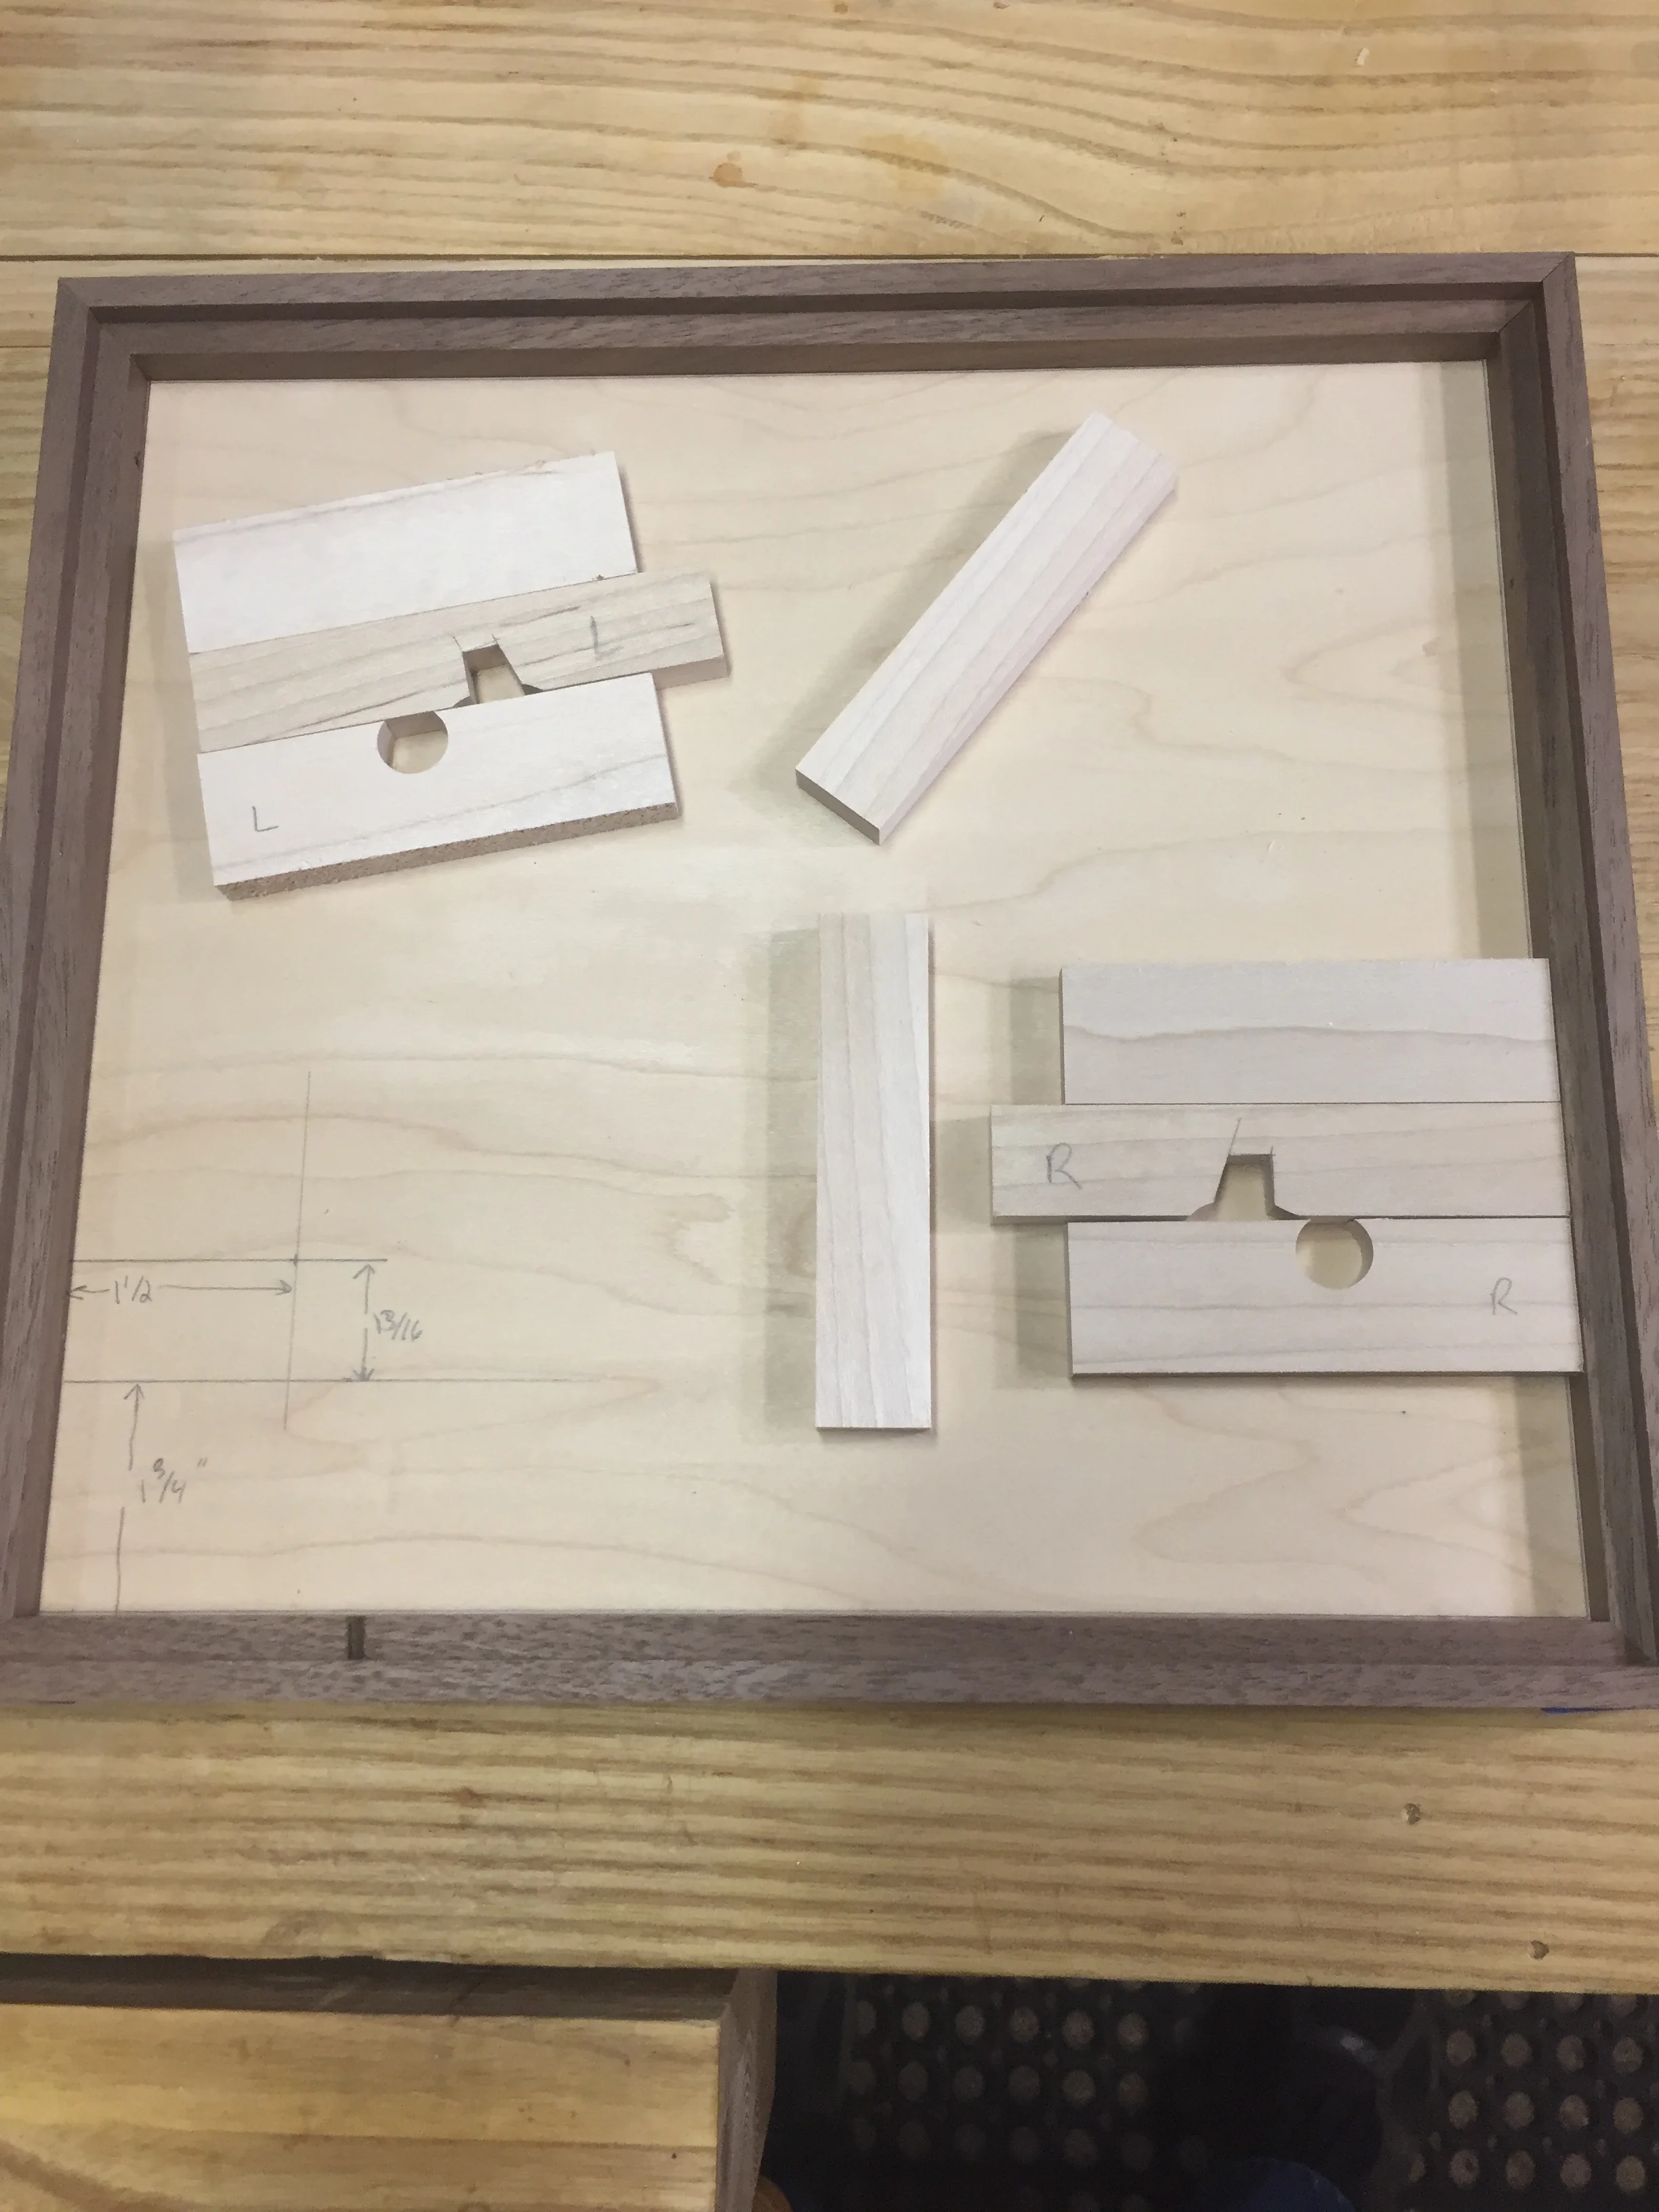
Engagement Box Top Lock Design.JPG

I also got started on the top locking system.  My first try didn't work the way I wanted, it would unlock but the design of the catch was such that the springs wouldn't push it closed again.  So I worked out a way to use something more like a key that when turned will slide the lock open and the spring behind it will push it closed again.  I spent more time laying out dimensions on paper than I got to do woodworking, but that's not a bad thing.  Good plans are necessary.  My goal is to have a design that I can still take apart to work on if ever needed.  Plus, I had to work out a way that I could still install and remove pieces, so the piece holding the springs will be removable too.  After some tests with plywood and poplar I was ready to get onto the real thing.  I wanted to use maple, it's strong and more wear resistant (not that these parts will get a lot of use).  I had a little piece that with a bit of resawing gave me 2 pieces - I figure why turn good wood into dust on the planer.  A combination of the table saw, drill press and jig saw get these pieces in shape.  I'm sure I'll still have adjust things as I go.  And these are for a test lid - I'm not even working on the actual one yet!

I did notice that the iris drawer I have for the engagement back is now starting the stick a bit when opening the iris.  It could just be the extreme humidity and this is a mechanism that requires an accurate fit.  I'm hoping I don't have do do fixes or a rebuild here.  Even though, I was thinking of trying to re-cut the mechanism in plexiglass to see how it works.  And I haven't tried cutting plexi on the CNC yet so it'd be a nice excuse.

I didn't get time to do any cipher wheel work or major website work this week, but I plan on more.  I'd also like to add more sections to the website about building puzzle boxes, making mechanisms, types of puzzles, etc.  I still want to make a go of this professionally, so building a solid site and would really help, plus allow me to give back.

Till next week, stay dusty.