
You know how last week I said I was getting more shop time I was looking forward to continuing that. Yeah, well, it's good to want things. The week just kinda went away on me. I don't know where it went, but I certainly wasn't with it. I even tried calling but apparently it's phone was off. I was left with more to do for the day job (that data won't analyze itself, well, yet but I'm working on that too) and some weeknight activities that didn't involve sawdust. Fortunately the weekend opened up slightly.

I started out doing a quick job to make my life easier. Any time I have a chance to make a jig I think is time well spent. It's pretty rare I only do something once. If I have the jig, repeats are a snap. This time I made some simple additions to my puzzle makers sled to cut some common angles. These are for 45 and 22.5 deg cuts. These can bolt down onto my sled and different distances but the common is just against the fence. I made them out of 3/4" MDF and that lets me stand shorter stock on edge or flat to cut the miters. I can also put stops on the sled for easy repeats. A few labels keep me from wondering what is what.
I spent the rest of my time on the lid of the engagement box. I pulled out my setup pieces and taped them back up so I could set the lid in place and layout the positions of the lock cut outs so I could test everything. I'll be cutting pockets into the box so I want to make sure this all works before doing it on the real one. It's a small pocket, so after laying it out I just chiseled them in. Even assembled I have room to do this. The locks did need a slight bit of adjustment to make sure the moved and didn't stick at all. I'm thinking of having the top of the lid screwed on so that repairs are still possible later. Turning both keys retracts the locks and you can lift the lid using the keys. You have to turn both keys to retract the locks when closing. I may try to taper those little lock pieces that stick out so they can lock themselves when the lid is closed. This setup box is great looking, isn't it? I've used it fora bunch of things, it's all cut up now.
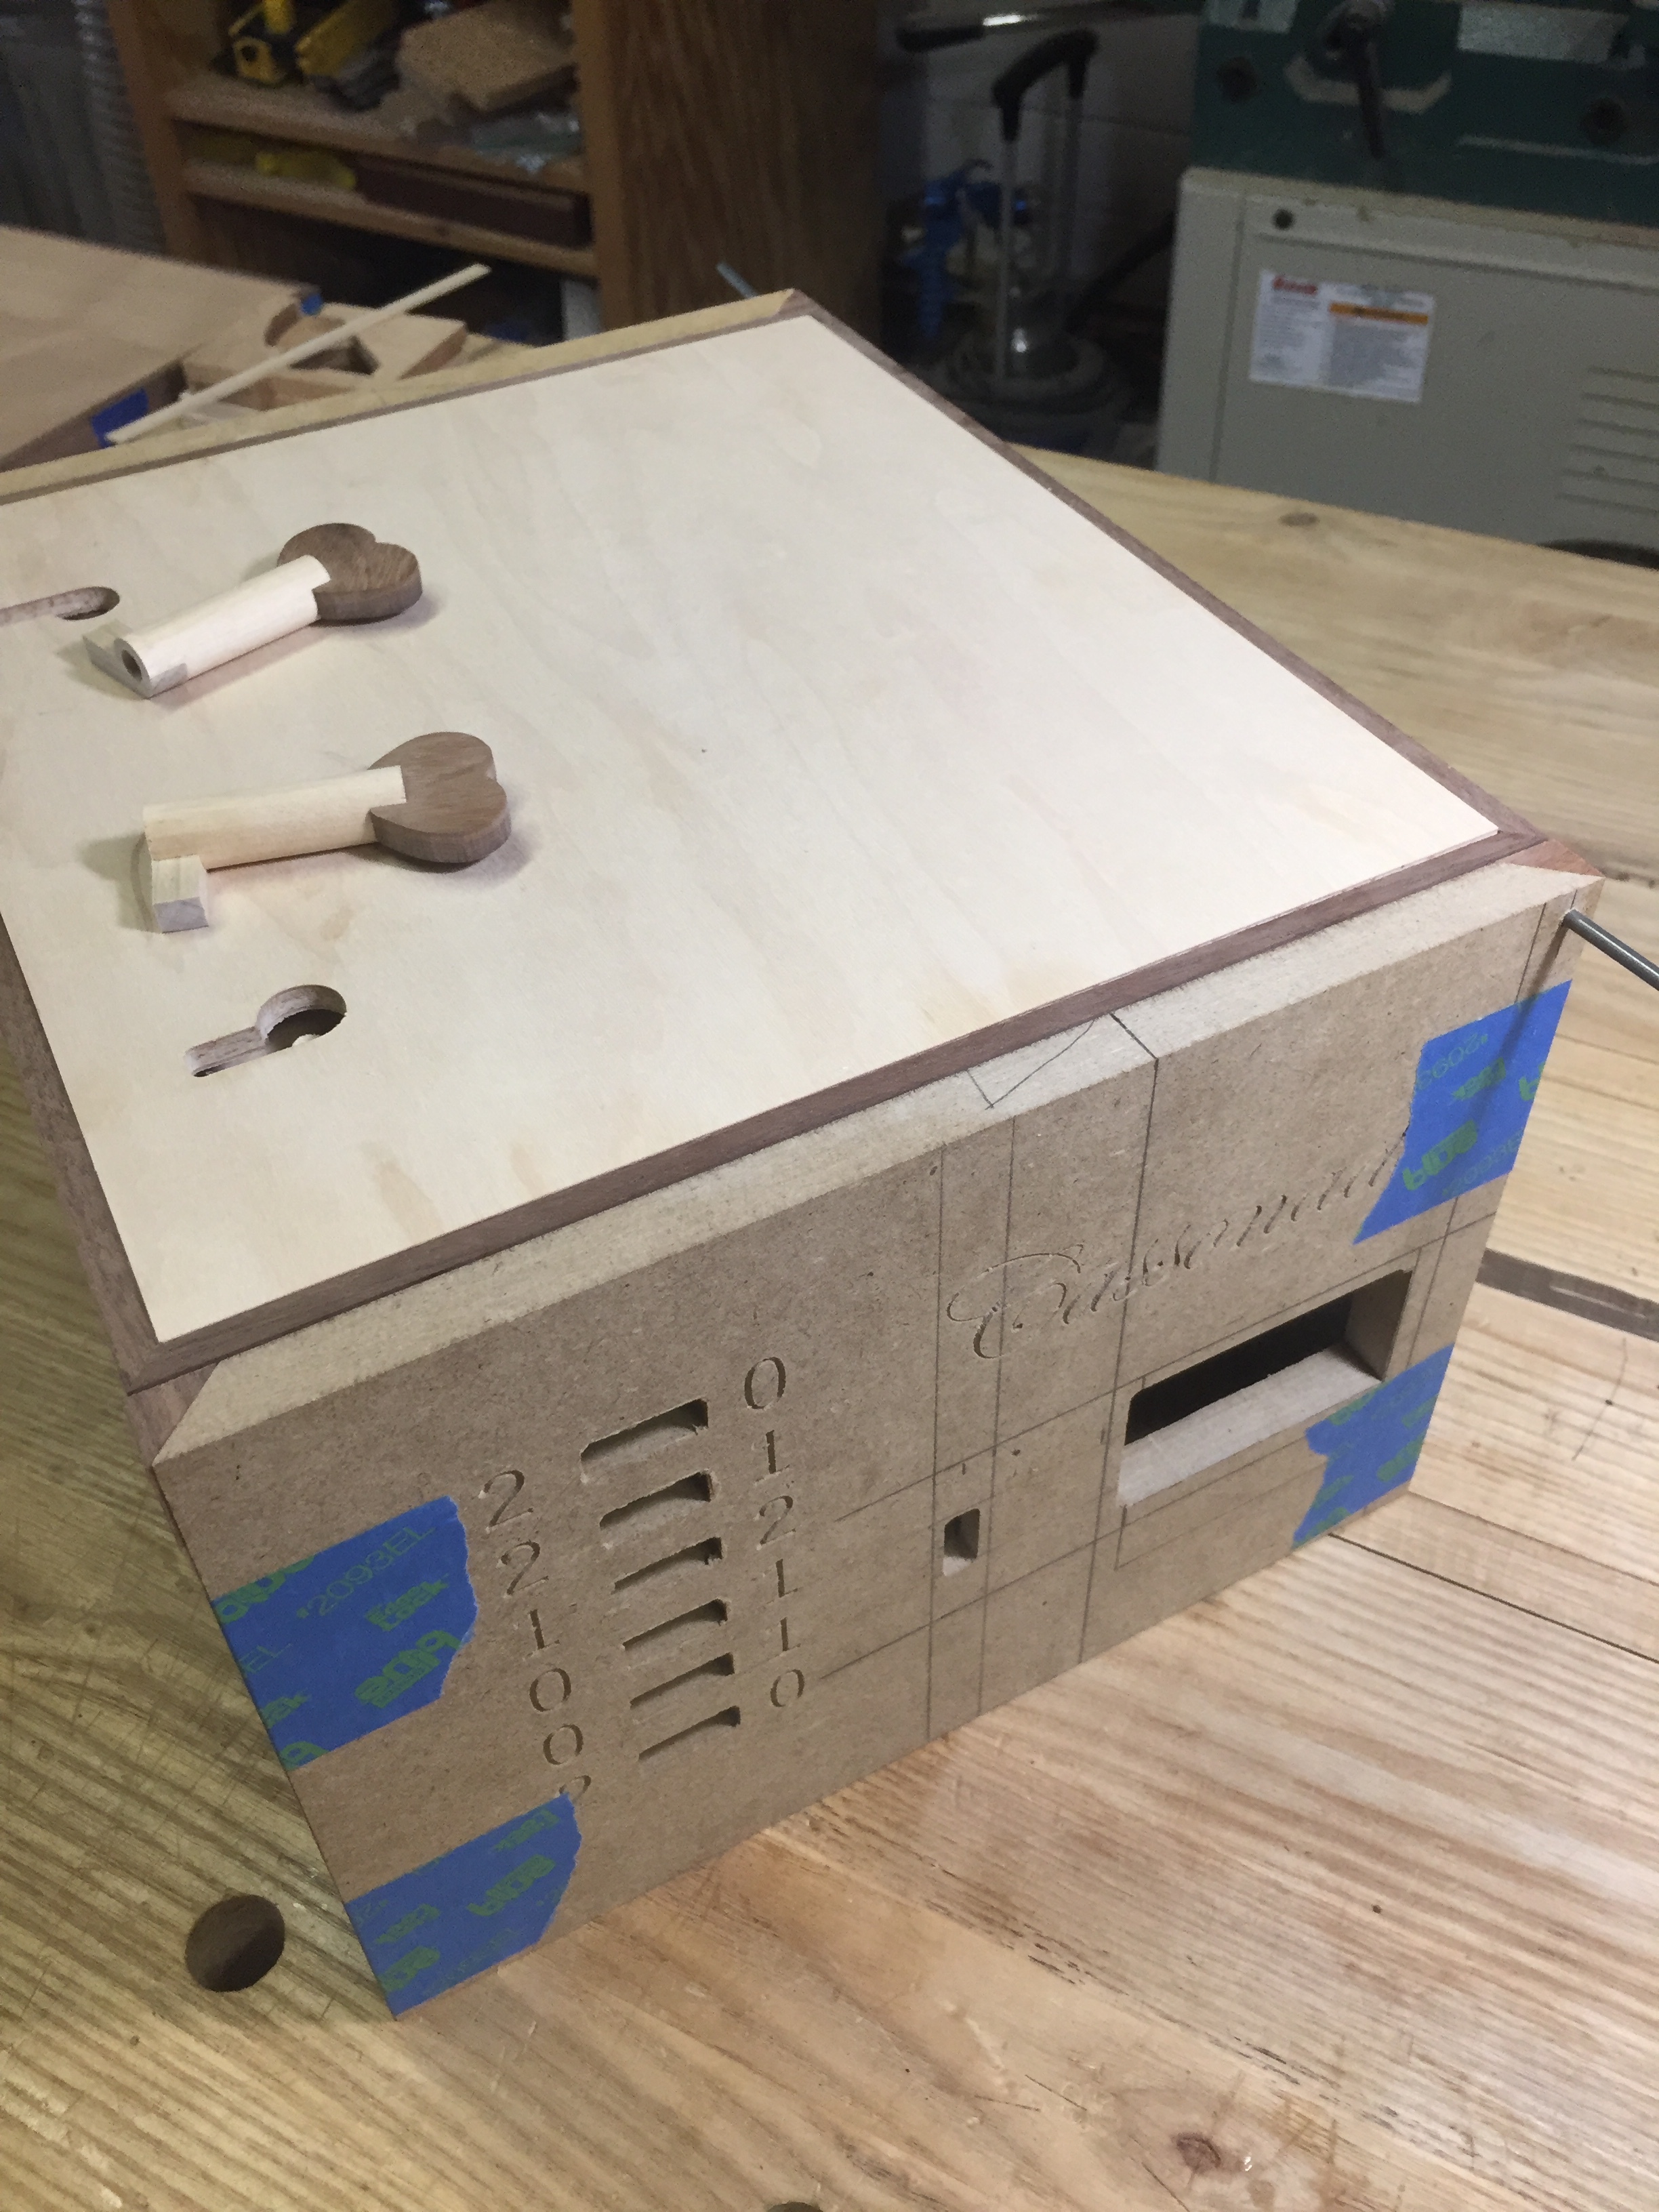


I hinged the lid on pins that come in from each side. You can see the bit of metal rod I'm using to set things up. I cut a few pieces long so they are easy to take out. This is a nice way to make a lid that won't have a normal hinge. The main thing you have to do is miter or round off the bottom back edge of the lid so it has clearance to pivot. I'll probably end up gluing the pin into the side of the box after assembly so it can't work it's way out. Just don't glue it into both the side and lid or it'll never open! The final will use some brass to look nice. I started working on something I could attach to the back that would hold the lid open at a nice angle. it will have a laser engraved picture inside and I think displaying that would be great. I didn't come up with anything yet though.
There went my weekend. Well, I also had to help deliver some sheep, write an article for my Critical Thinking Blog, play some of the new God of War (such a good game), watch a movie, eat some pizza. Yeah, I try to relax a bit on a weekend too since work is right around the corner on Monday. I'm happy to have the engagement box nearing completion and looking forward to sending it on a journey around the world. Then, onto other projects.
Stay dusty!