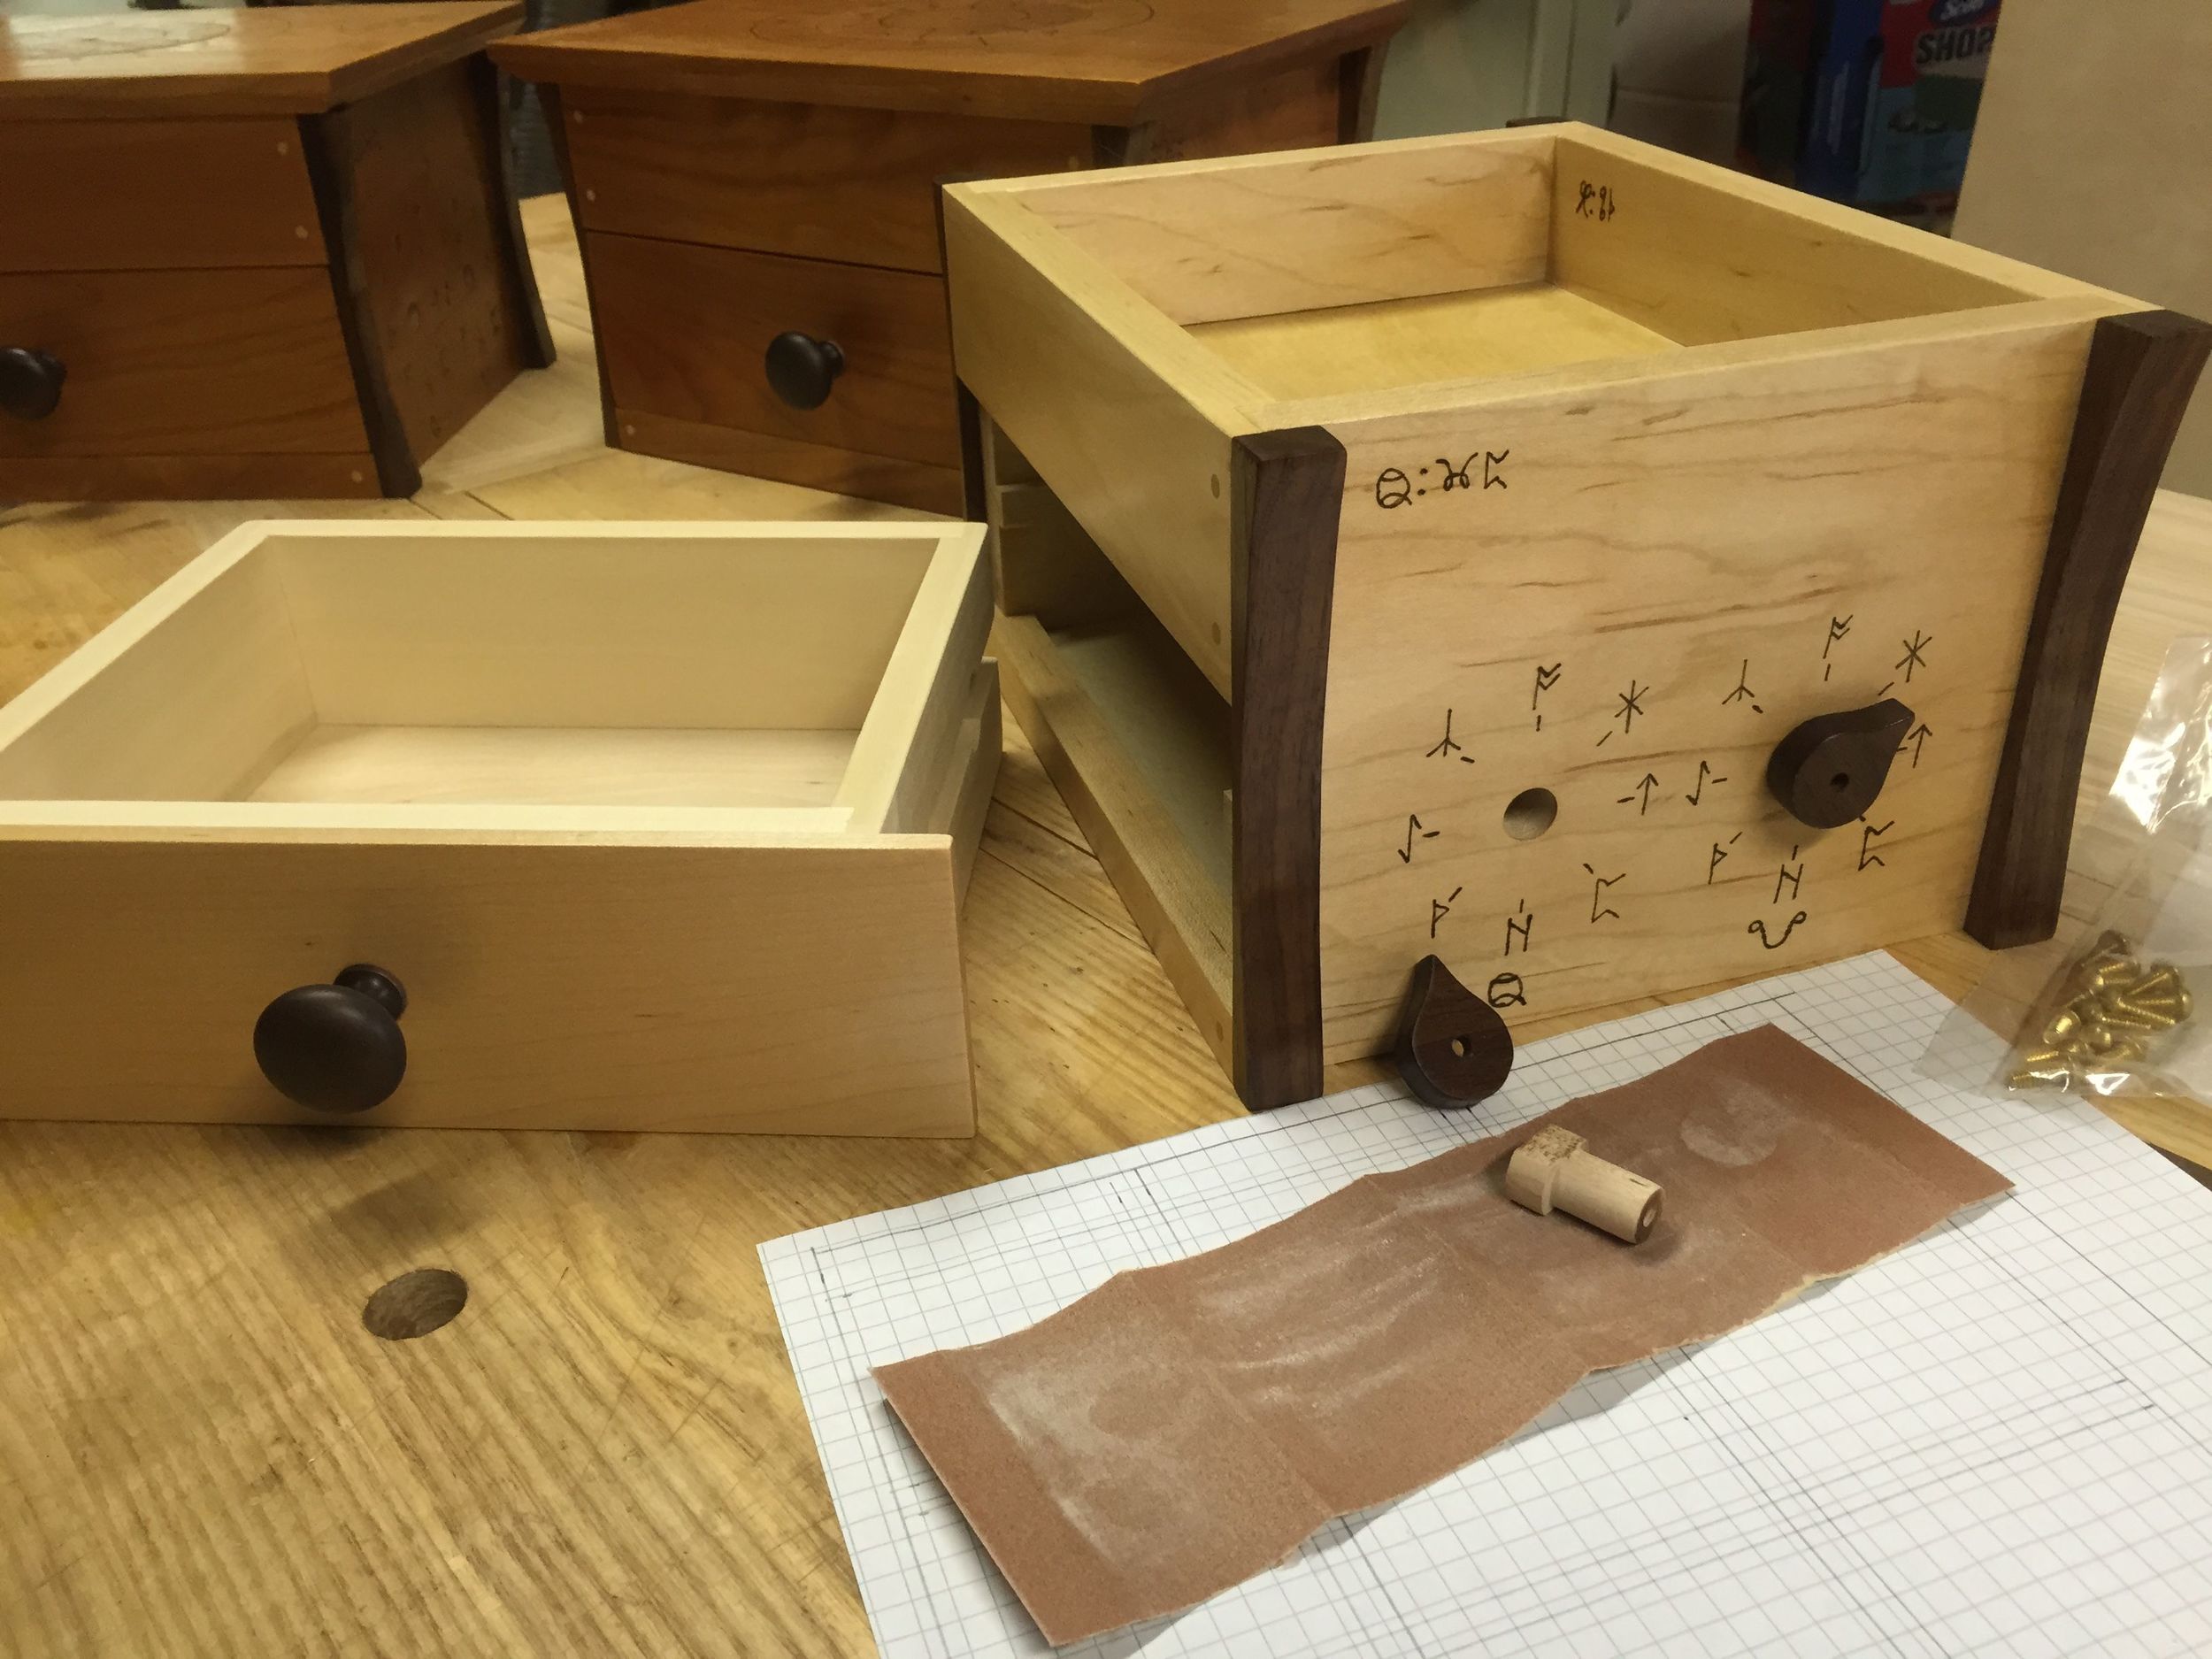
I've finally arrived at the final fitting of the locks for the puzzle boxes. This is a finicky process. I need to make sure the lock runs smoothly in the hole both with and without the drawer in place. That means a bunch of trials and some sanding. One the locks are sanded, I can check the fit of the dials. The need to fit the lock barrel snuggly (but not too snuggly or I'll get a bad glue bond) as well as have a tiny gap away from the box once put in place. It's a bit of a dance to get it all fit correctly and operating well.
Once everything is good, I can glue the dials onto the locks. This is not the point at which to make mistakes. The dials have to be set correctly (the one you see isn't right, so don't think you can cheat!). If not, well, then, all those nice clues won't mean much. So I check and double check the positions. Once those are good, glue the dial onto the lock shaft and put a screw in the top to both hold it while the glue dries and add a really nice accent. Brass on walnut always looks great.
You can see on these I updated all the symbols. A good thing about the prototype and a bunch of user trials was seeing that the old symbols were too similar and it was easy to confuse them. When designing puzzles, I want the puzzle to confuse the user, not a bad combination of symbols. This time I picked two symbol sets that were very different from each other and which were easy to differentiate even when upside down. Another change was to make all the symbols around the dials pointing up - as opposed to away from center. It's another little design choice that helps make a better final item.
After the locks are done I can finally hinge the tops.