
Guess how this week started out? Yep, too much time spent with the day job. But at least it's starting to slack off a bit and give me some openings again. I hope work continues to lighten up, so, you know, I can get to work.
I am a bit worried about the iris drawer binding up in humid conditions, so one night I CNC'd out another set of parts. That wasn't too long and while they are cleaned up they need a bit of sanding and fitting, maybe just another hour or so. I figure this way I haven't a second set ready if needed. My goal, if I need to, is to make a drawer that someone could open to repair if there are ever problems. I wanted to do that initially, but thought I should lean towards just finishing instead of making it a little more perfect. It's a real balance. I might still want to make one out of acrylic but some research told me I need a new bit, probably single flute upcut. Plus, using home store plexiglass isn't good as that is extruded, but there are other versions to buy that respond better to CNC'ing.

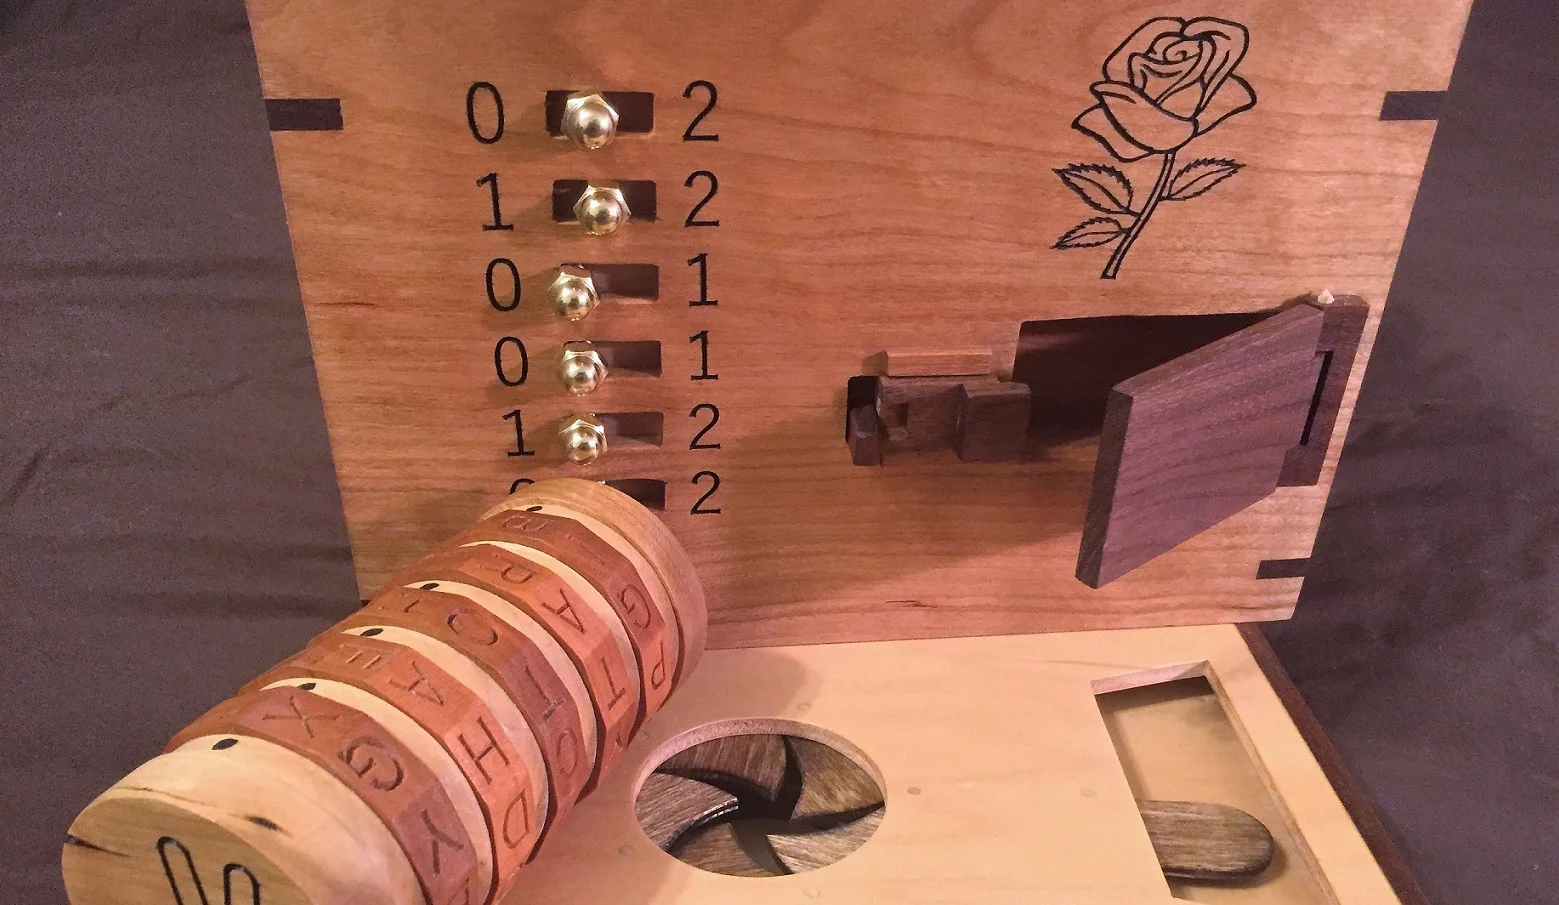
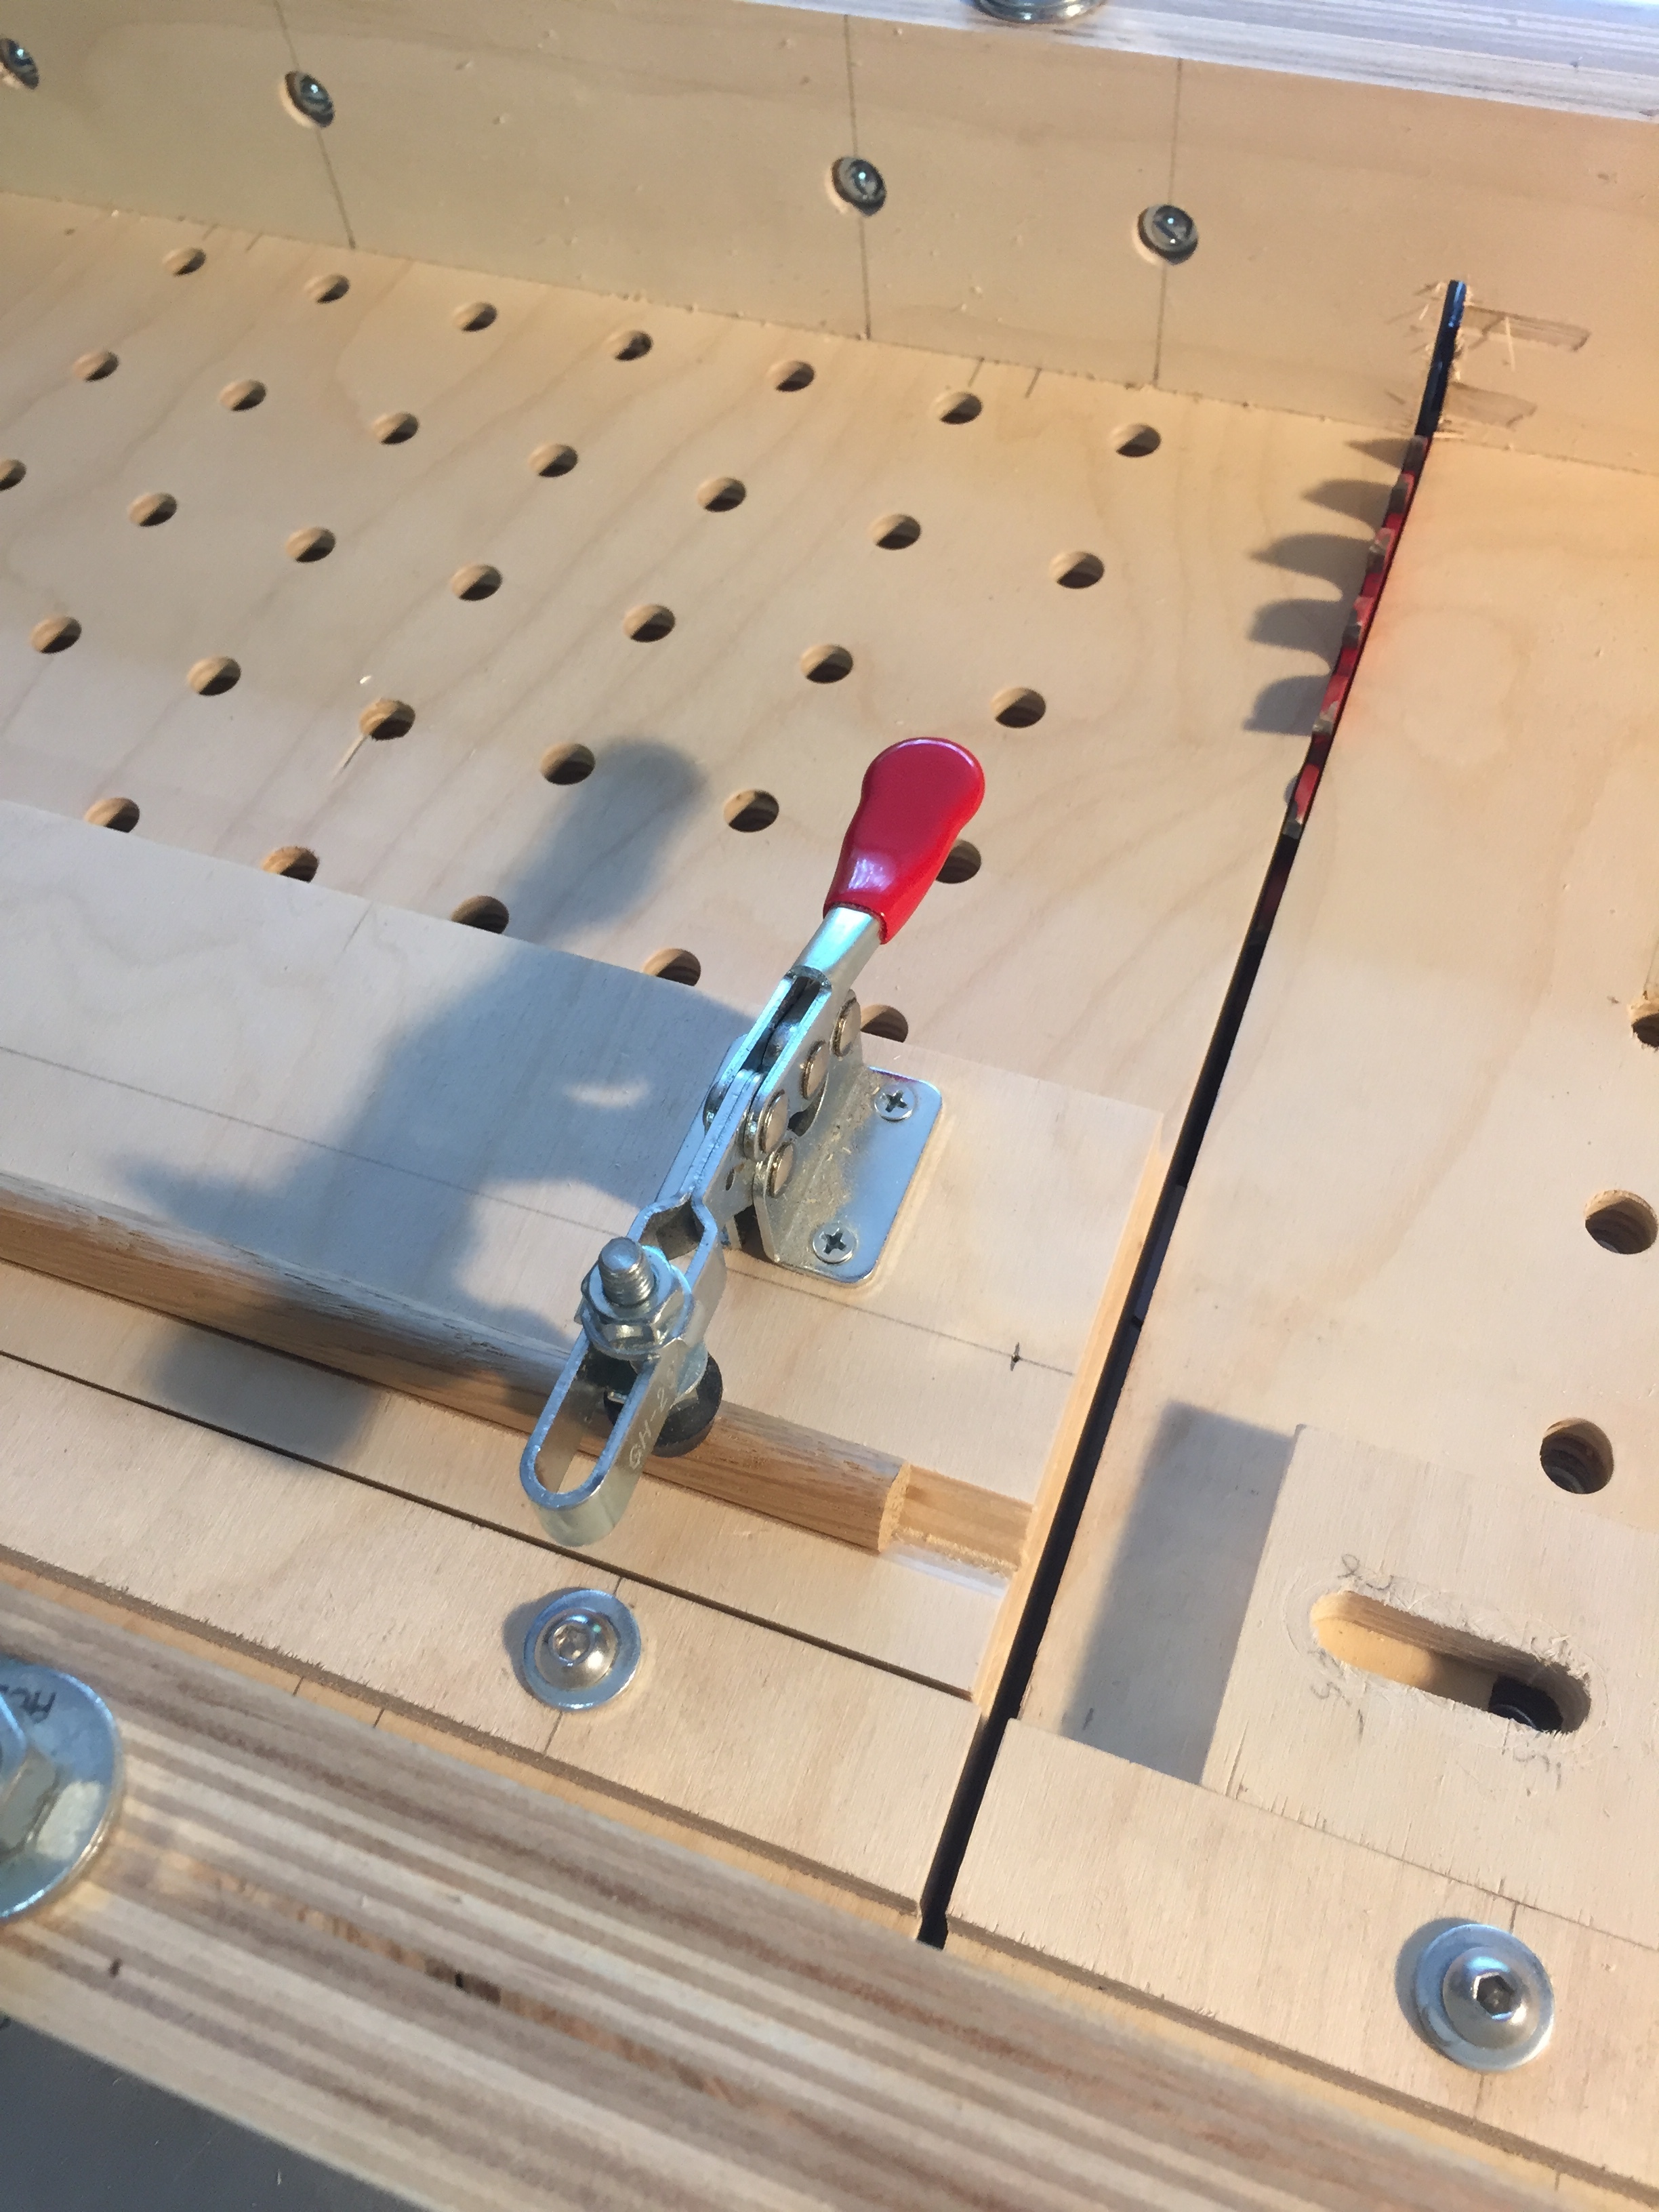
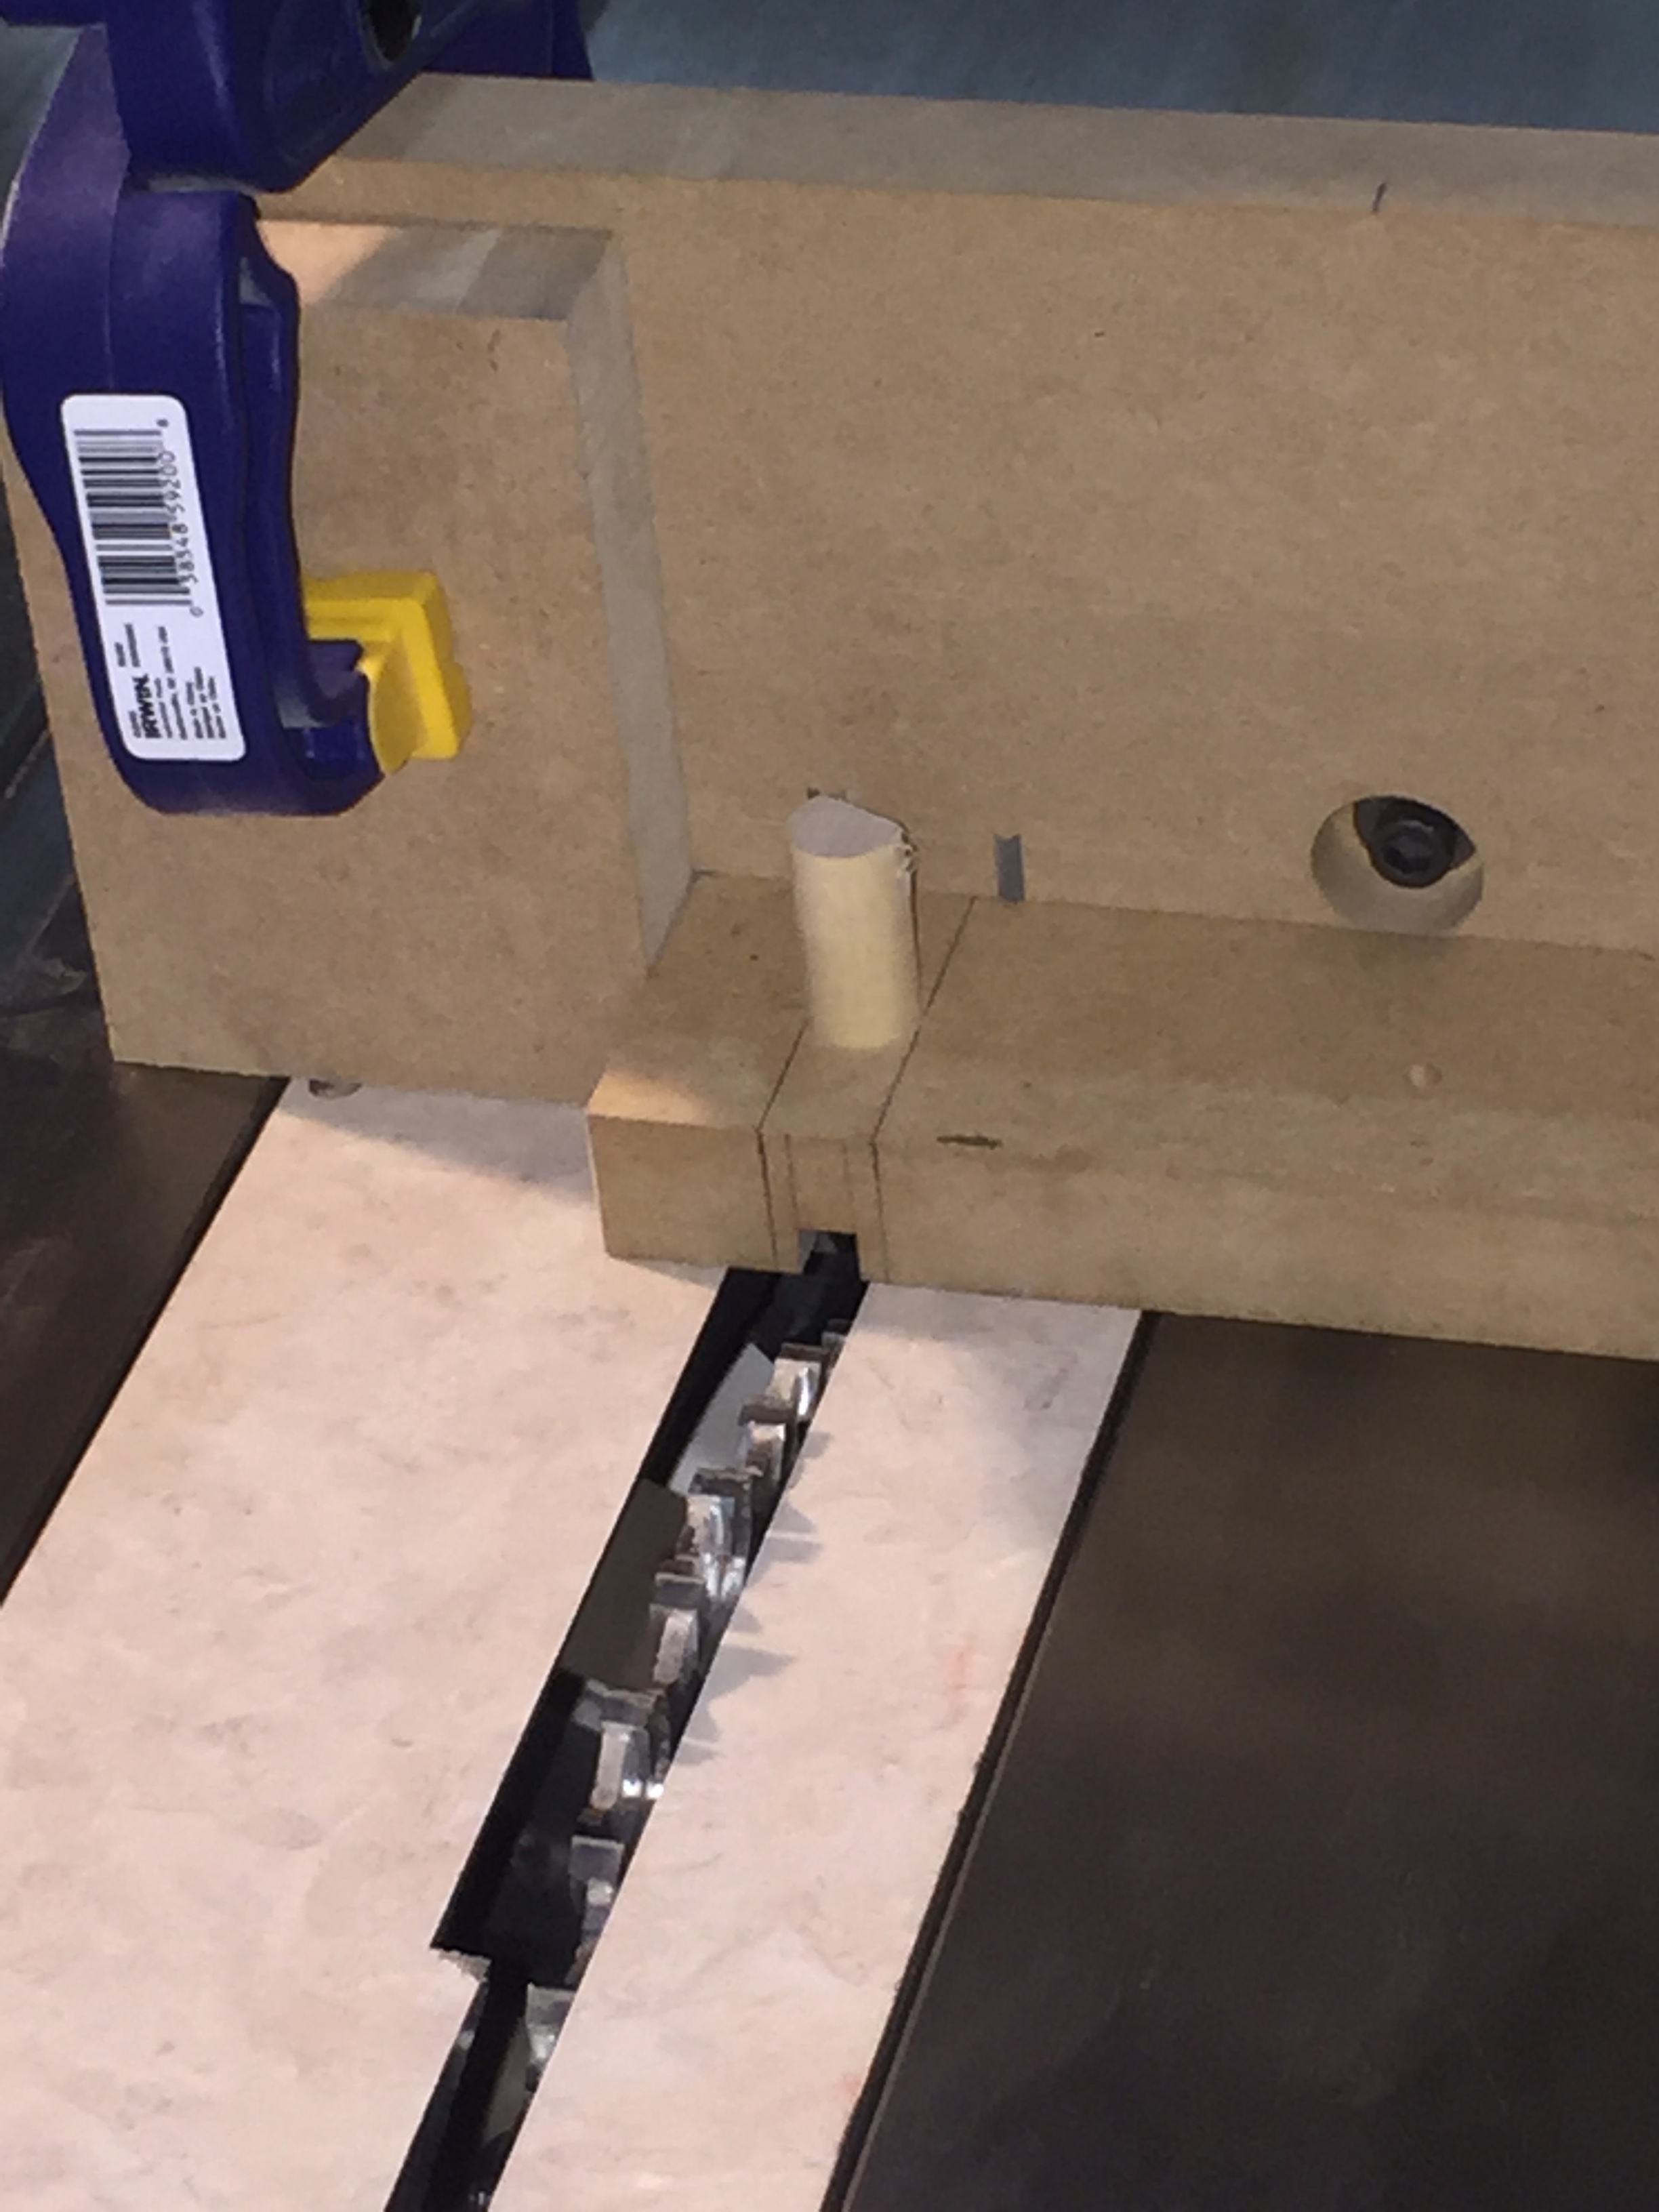
The engagement box lid got some nice work down over the weekend. I made the two heart keys. Doing these meant figuring out how to make some tricky cuts. First was cutting the flat on the edge of a dowel. I made a fairly simple jig that holds the dowel in a v-groove with a toggle clamp and then I can slide the whole jig along the fence to cut away a flat section (using a flat top bit). Then, I needed to cut a notch in one end to hold a little heart section (just jigsawed out). I tried several clamping scenarios that were all dicey garbage and then finally, I just drilled a 1/2" hole in a bit of MDF to hold the dowel vertical then aligned it on the saw to cut a 1/4" groove through the middle (using my box joint blades).
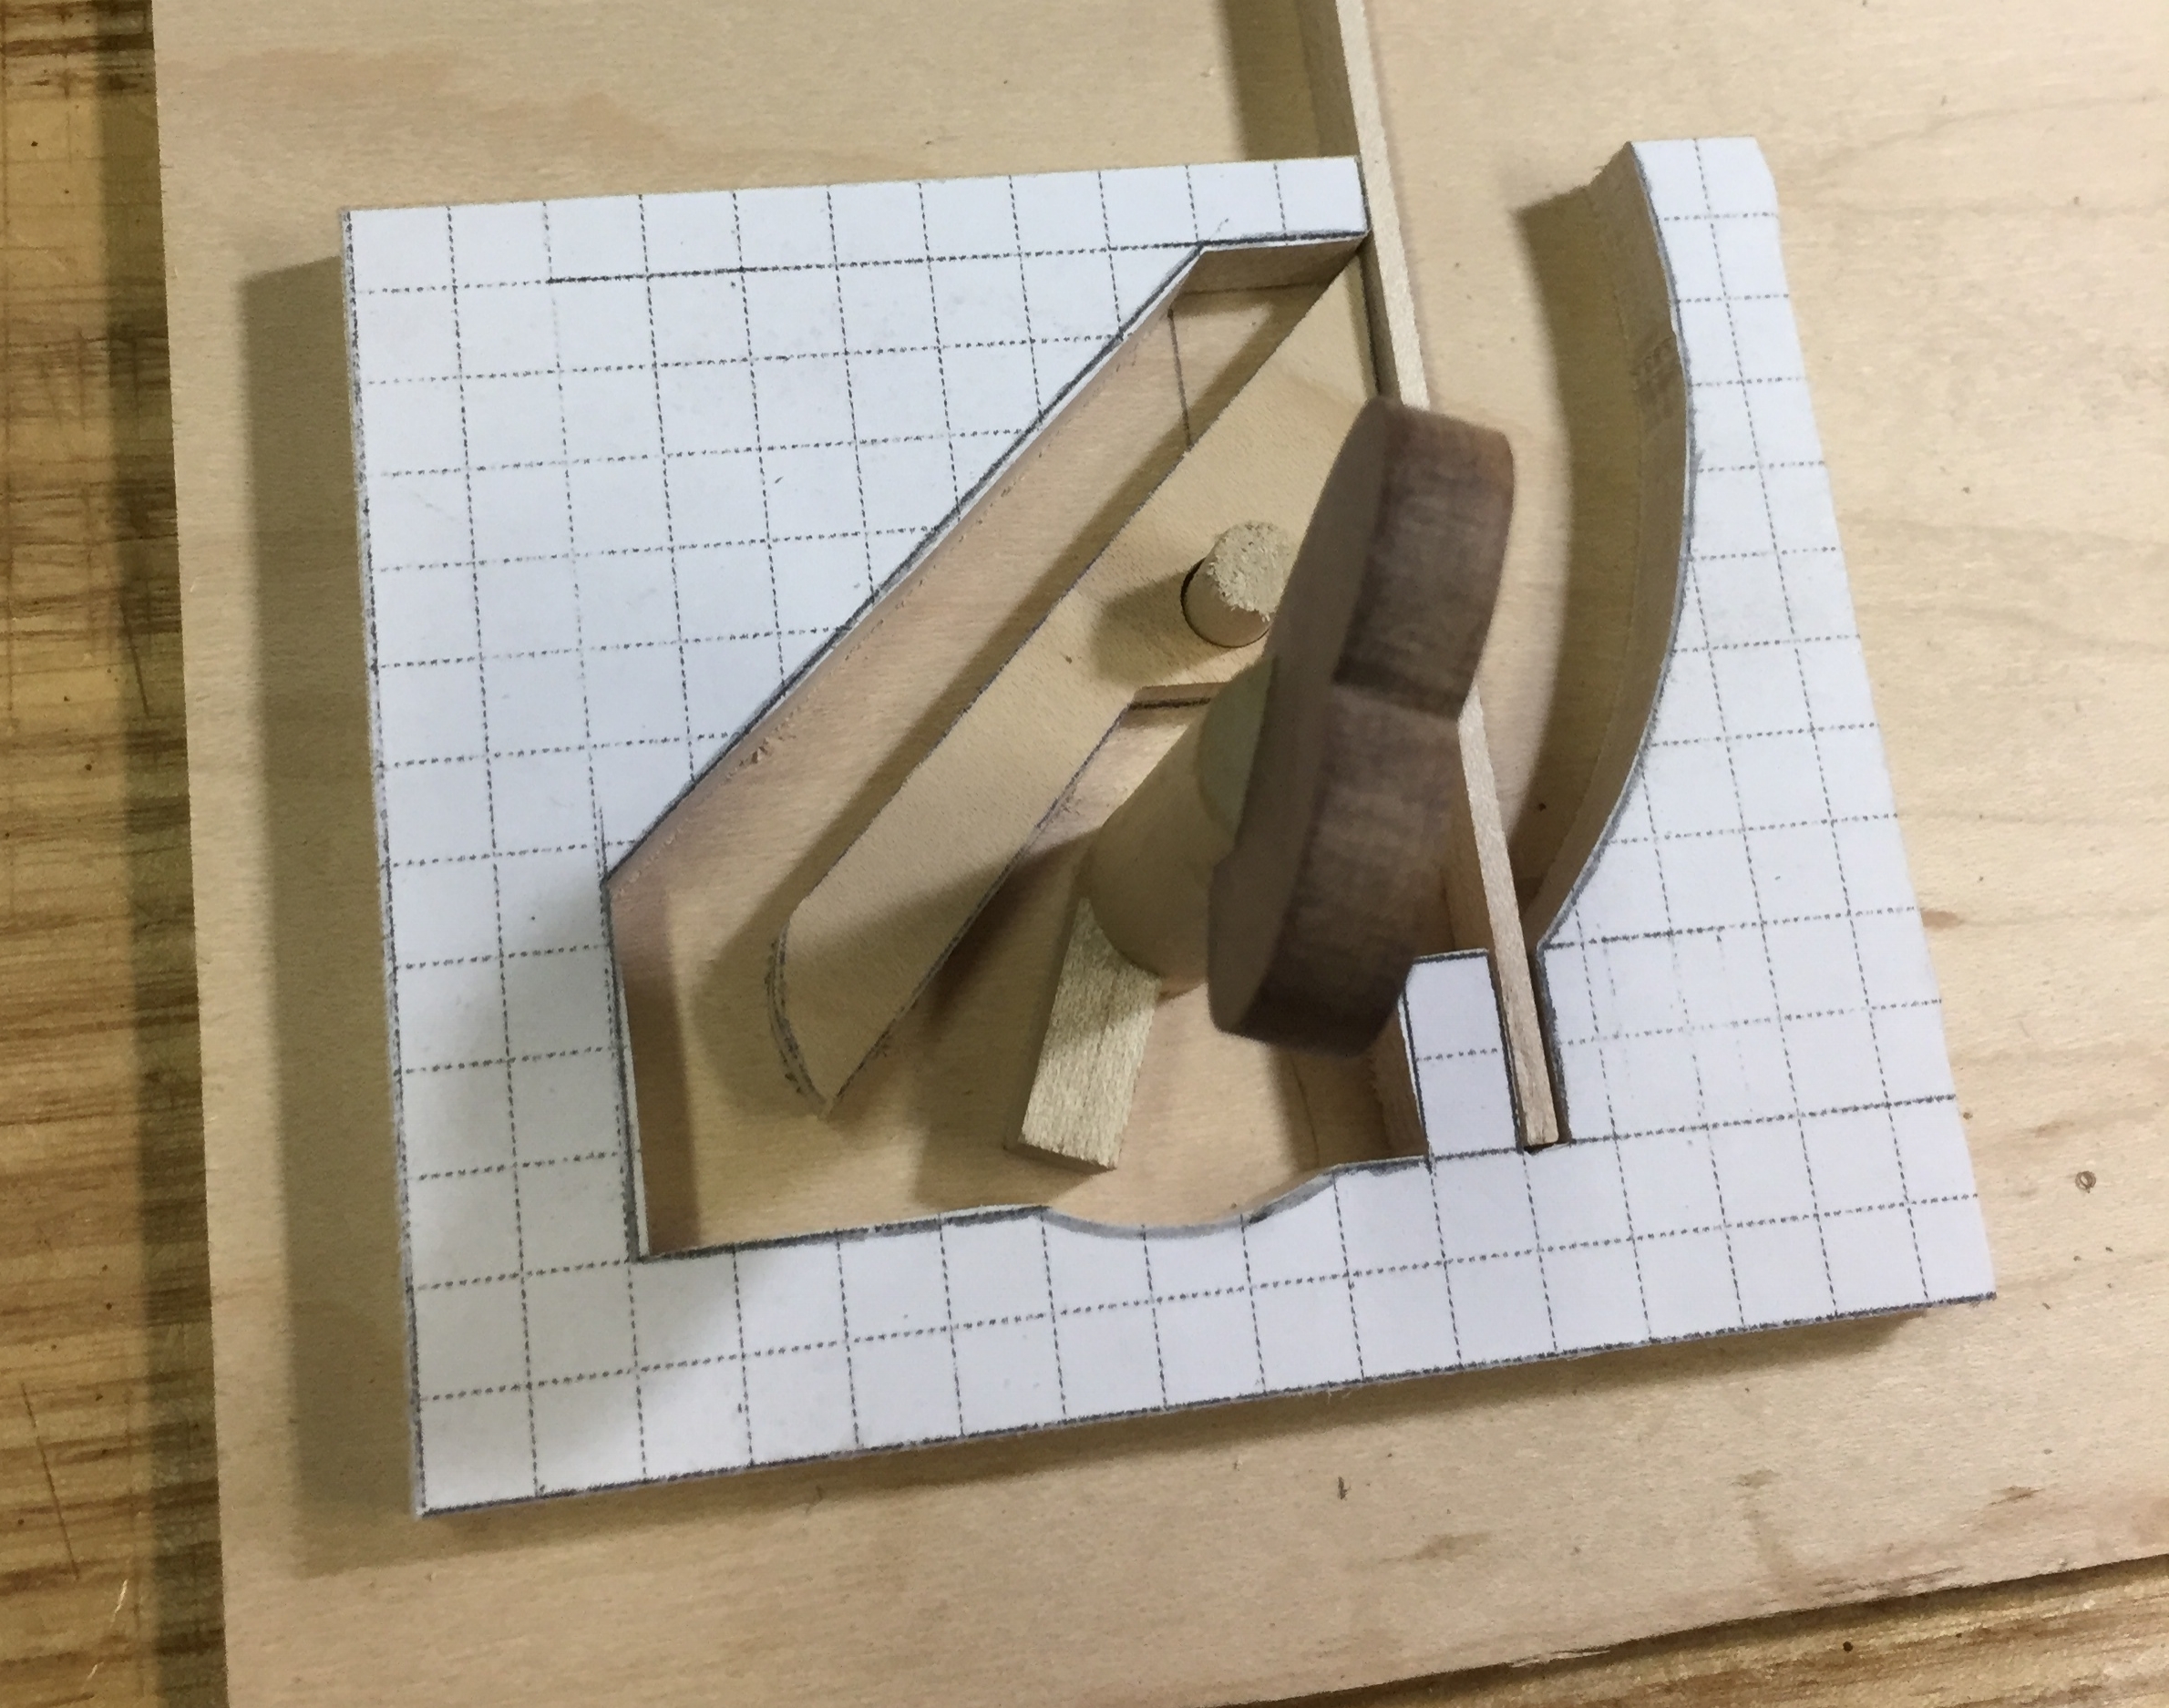
With the keys wrapped up I started in on the locks. I'm using a design from Tim Detweiler's book Making Working Wooden Locks . I had to some drawing so I got to have fun with graph paper and ruler and a compass. I'm planning on using a fairly standard wood spring. I finished the drawing, cut out the two lock bodies and then realized I made a teeny mistake. I made the slot to hold the spring 1/8" when I wanted it 1/16". I figure I can either fill that extra at glue up time, or just re-cut them as they are pretty simple to make. I need to make the wood springs and I know I have some nice flexible ash around. These will sit inside the lid and I'd like to make sure the mechanisms are accessible.
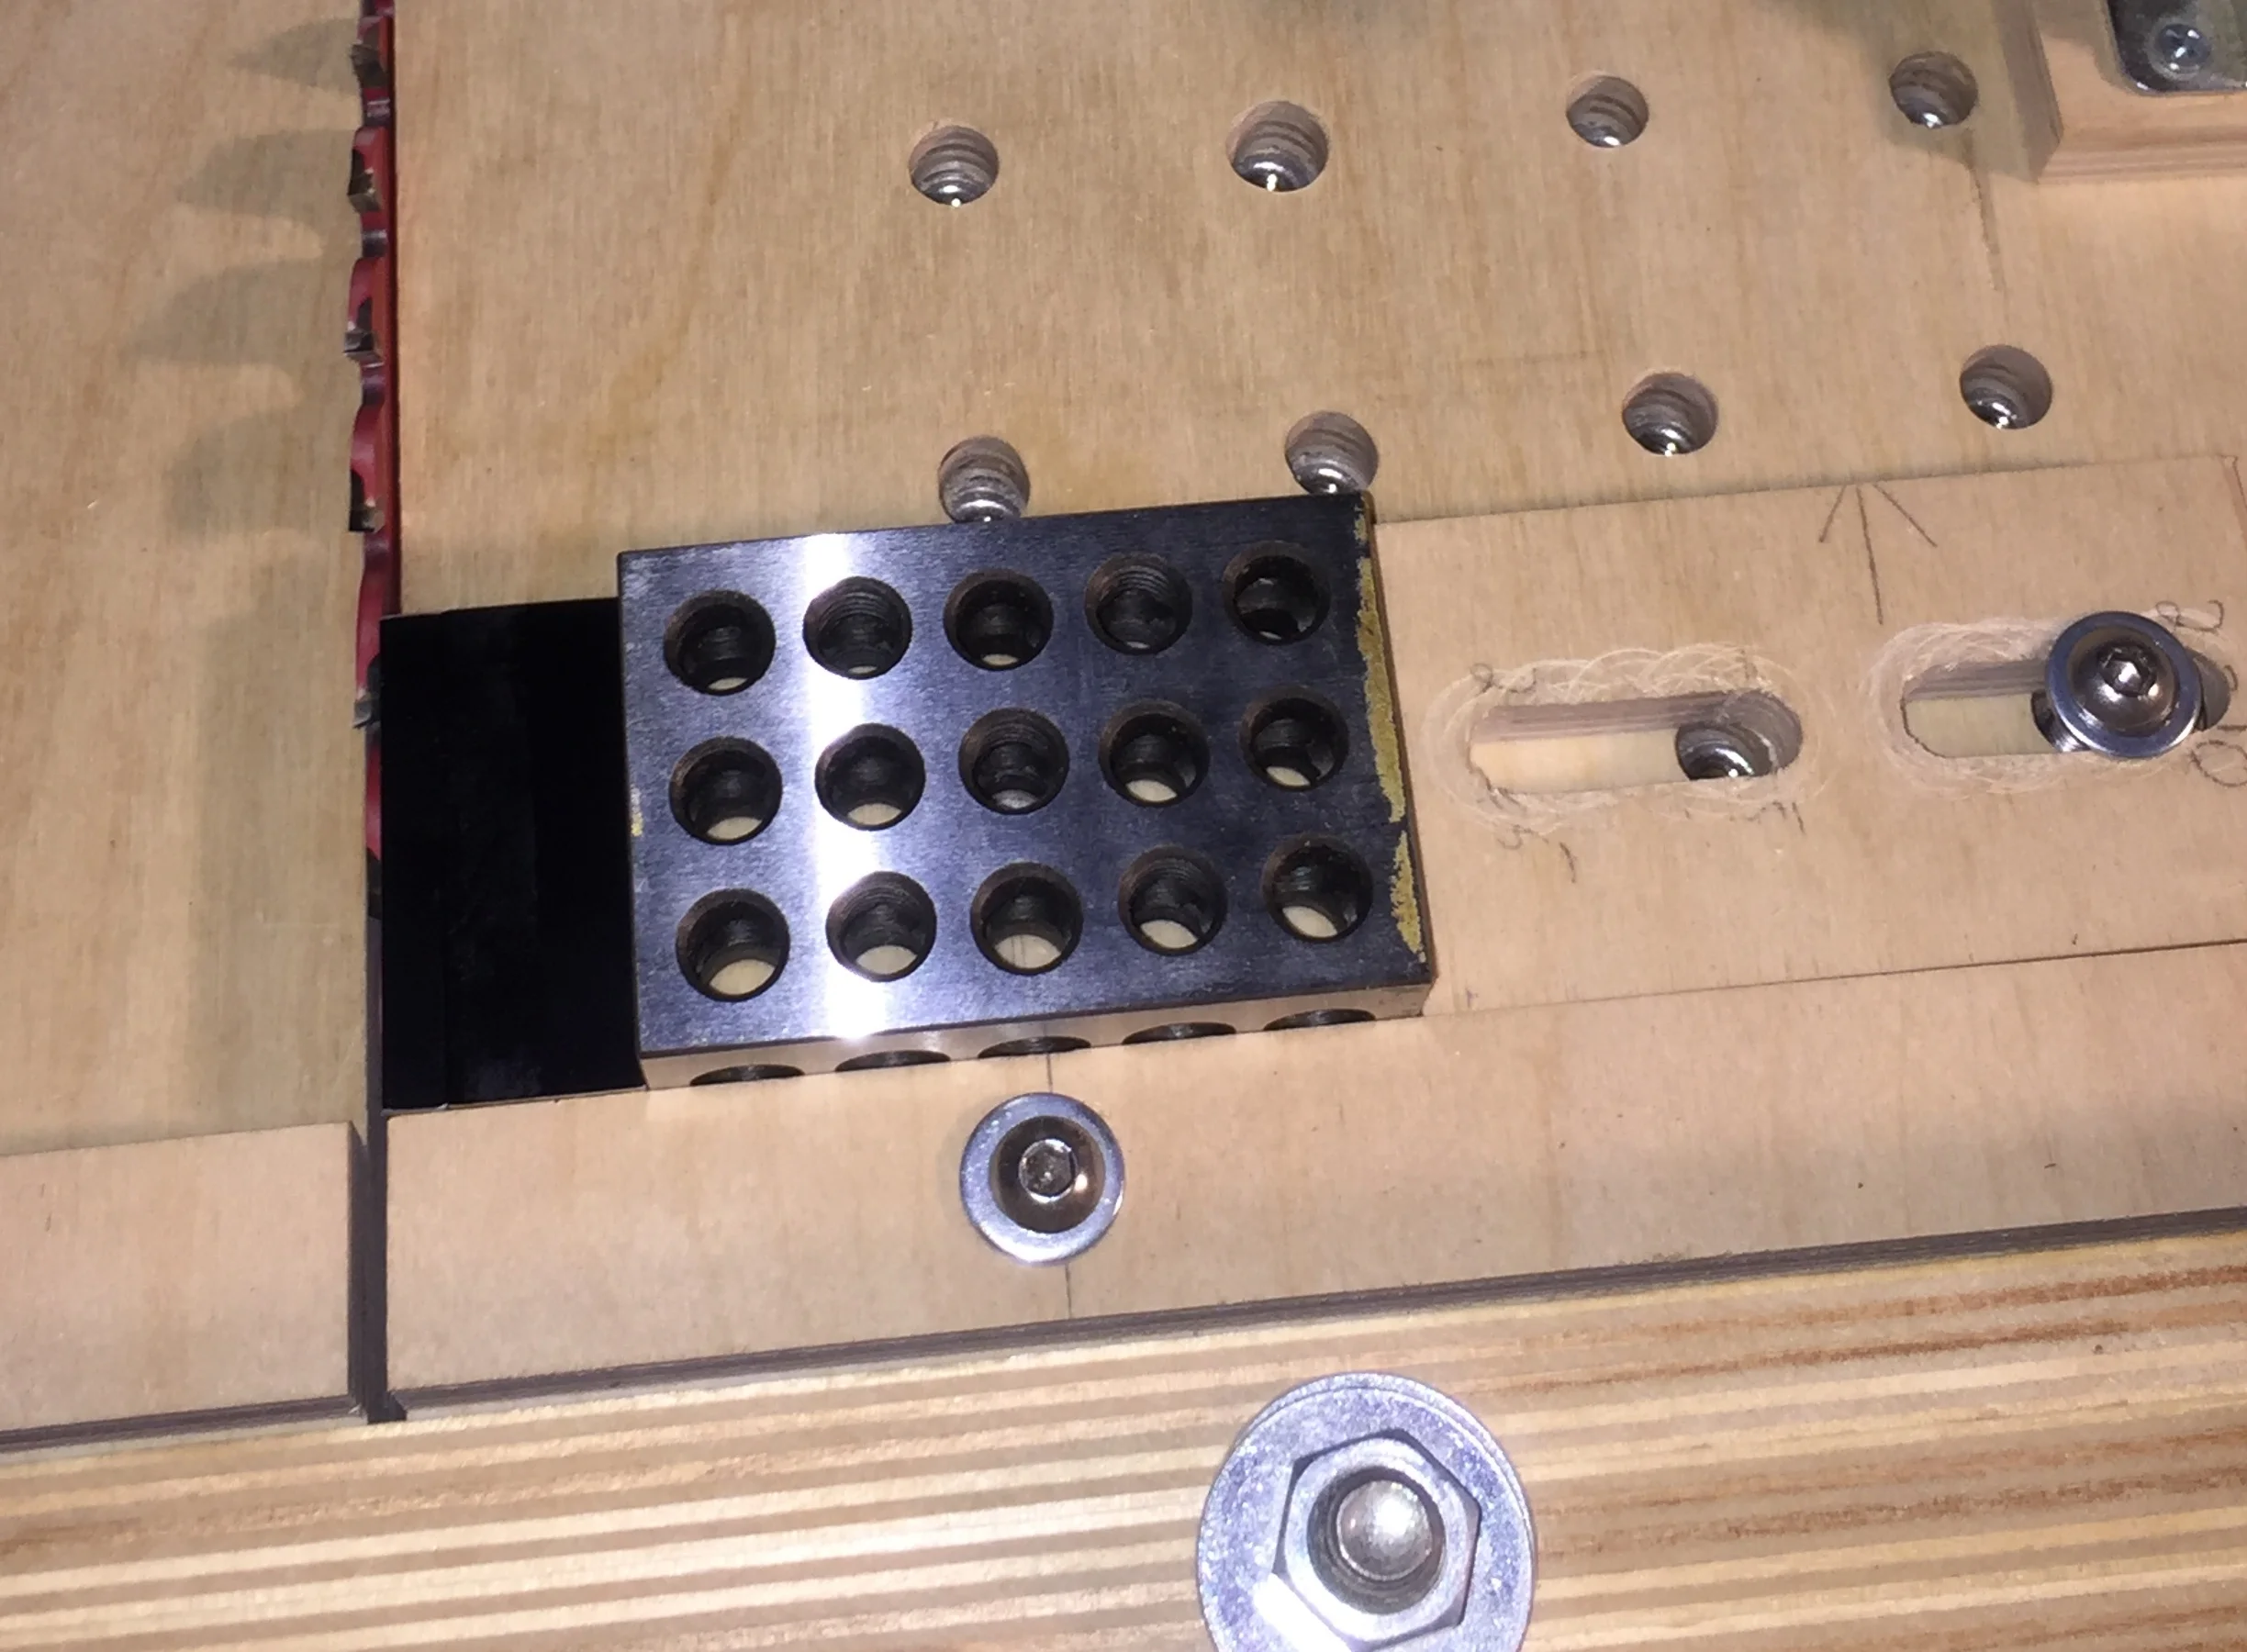
Lastly, I have to say again, I love setup blocks. I am reaching for these more and more often for all my setups. I think the main reason is that as I get older, well, I don't see so well and it's easy to miss a line on a ruler. But stacking a few setup blocks together is almost foolproof - I just need to get the right blocks. And it's so simple to those between the blade and the stop. I really need to get a larger set and maybe a few more 1-2-3 blocks. Combine these with digital calipers and everything is readable and easy to use.
It was nice to get some real time back in the shop. You know, like a few hours in a row. I look forward to finishing up these lid locks.
Till next week, stay dusty.