As I look back at my previous blog entry I realize that almost a full month has passed. The last month had it’s ups and downs - both of which rather limited my woodworking time. I had done some traveling to visit my wife’s family in Central Illinois who we hadn’t seen in some time. Then I went straight to a week long team gathering in Cleveland, Ohio for the day job. I came home with a horrible cold (and I wasn’t the only one to get sick) that hung on for almost 2 weeks. I still have a cough I can’t quite shake. So my month went away pretty quickly.
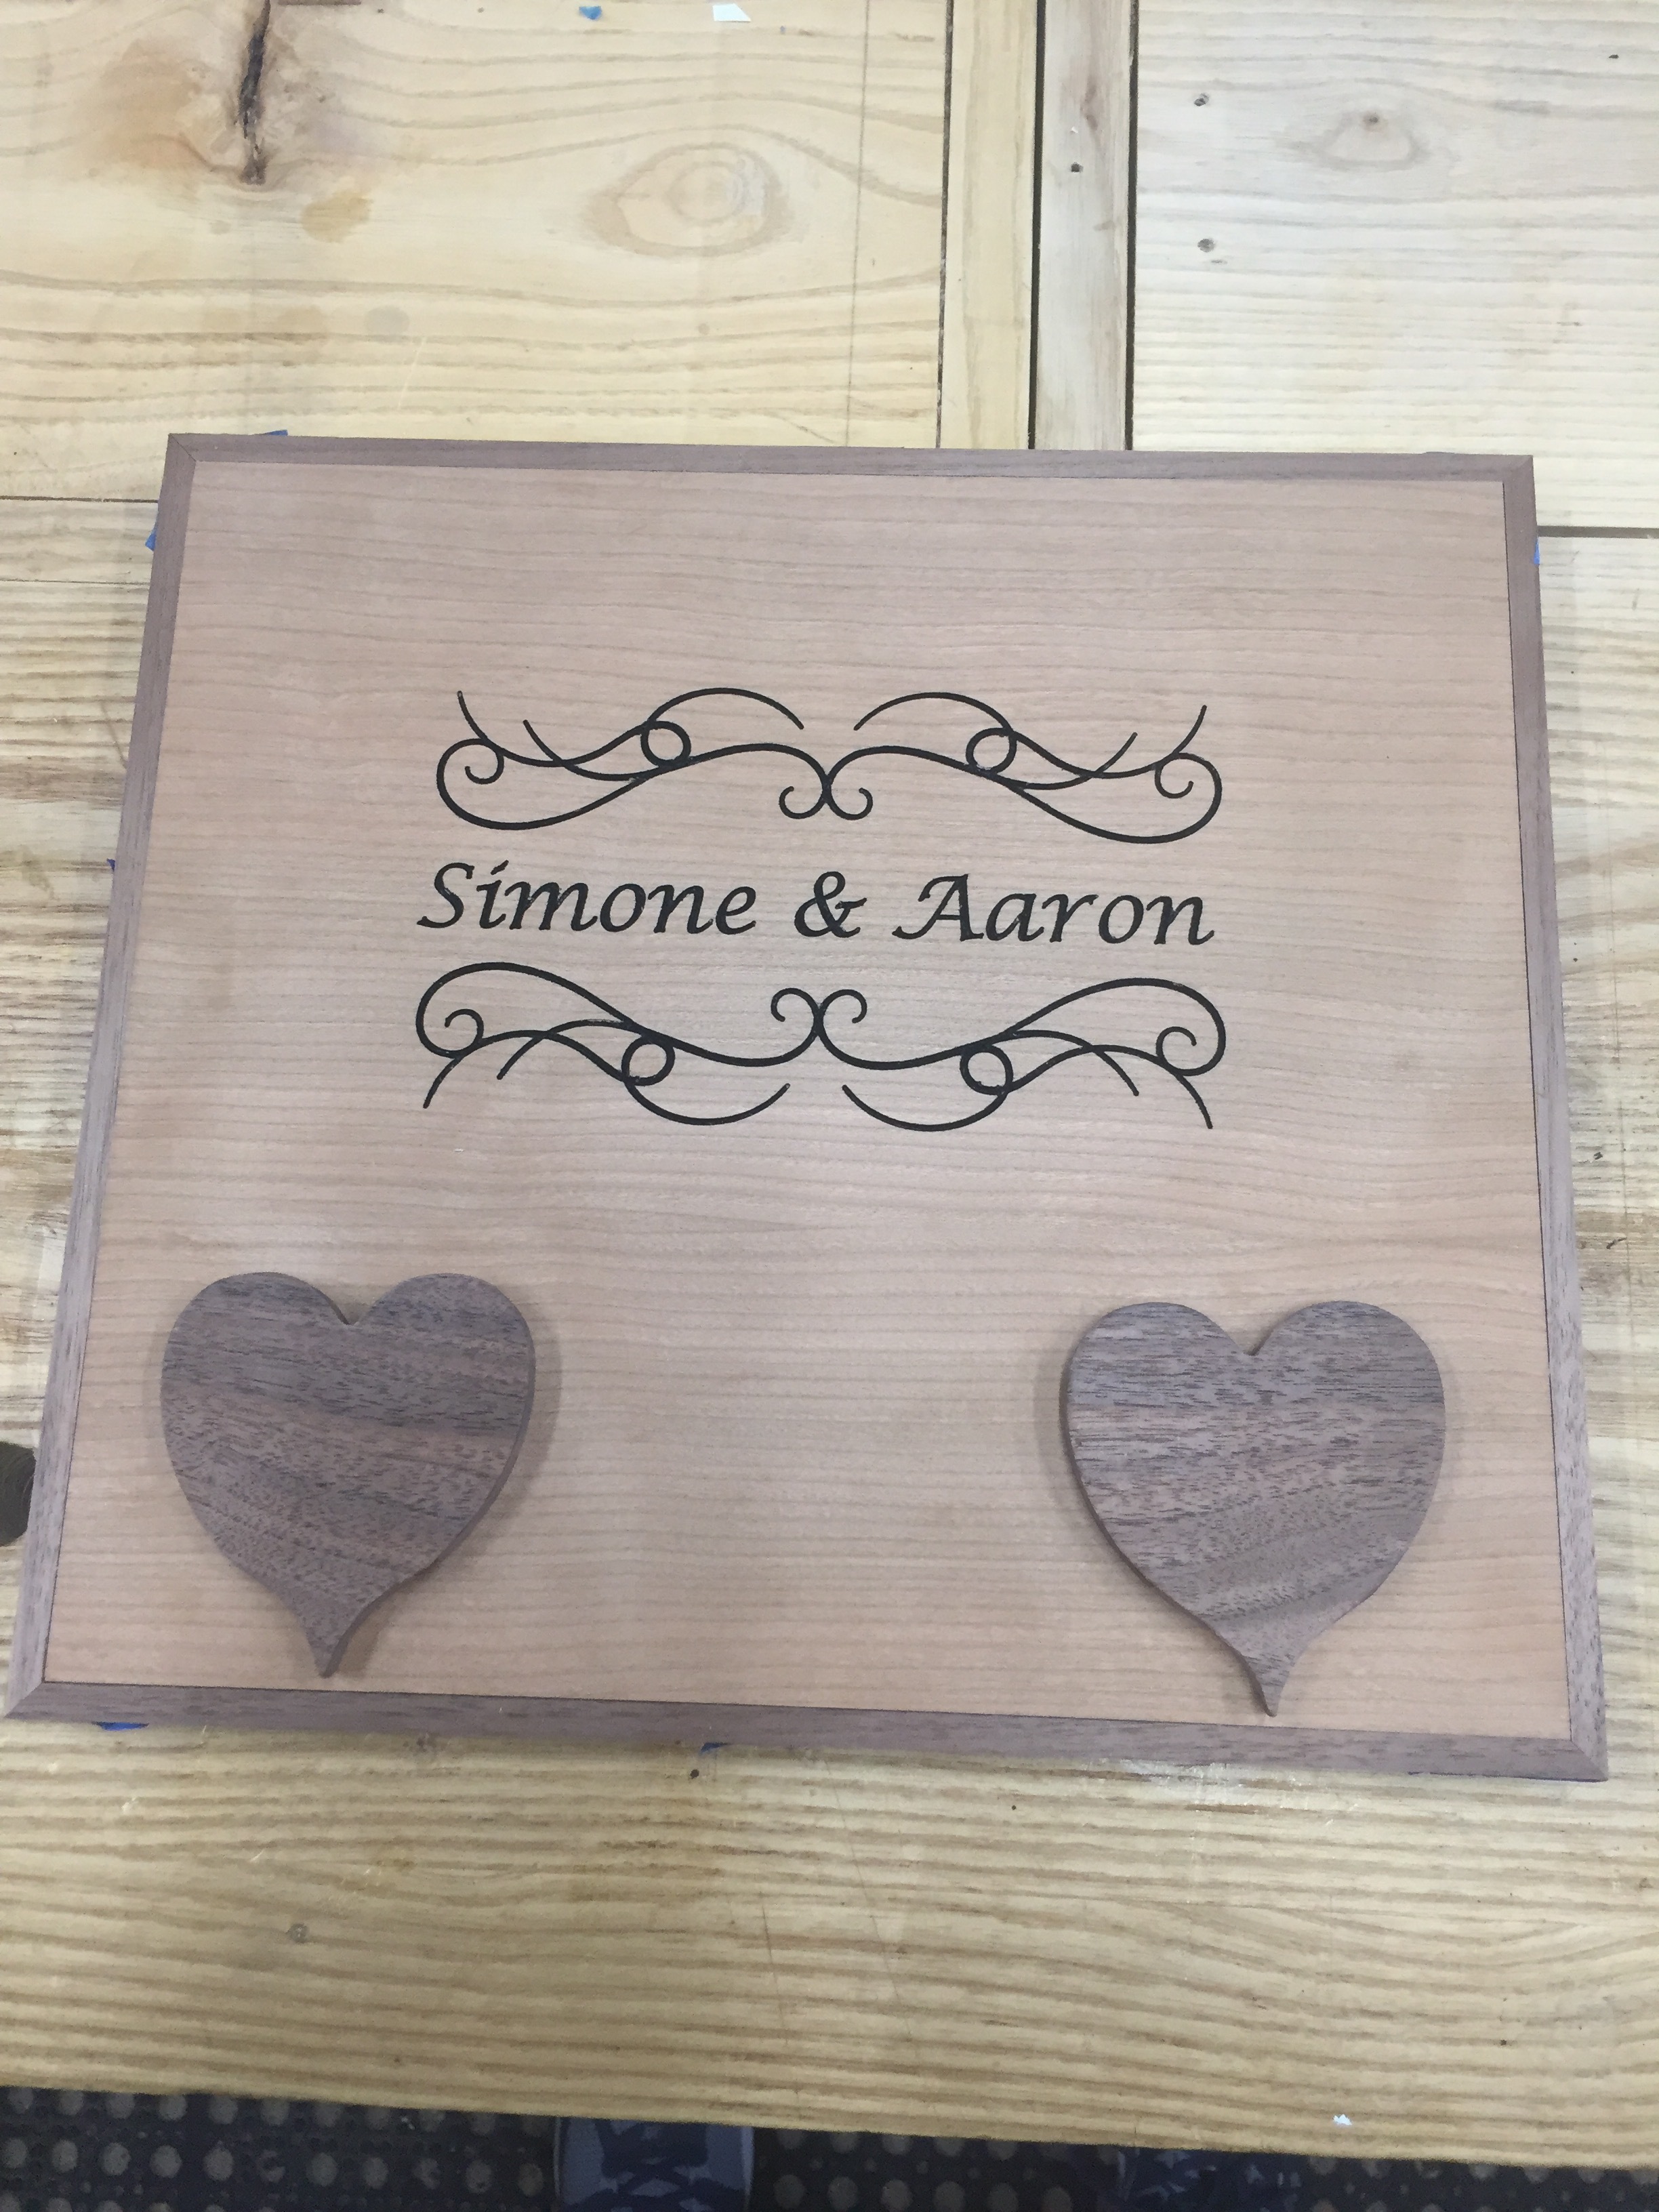
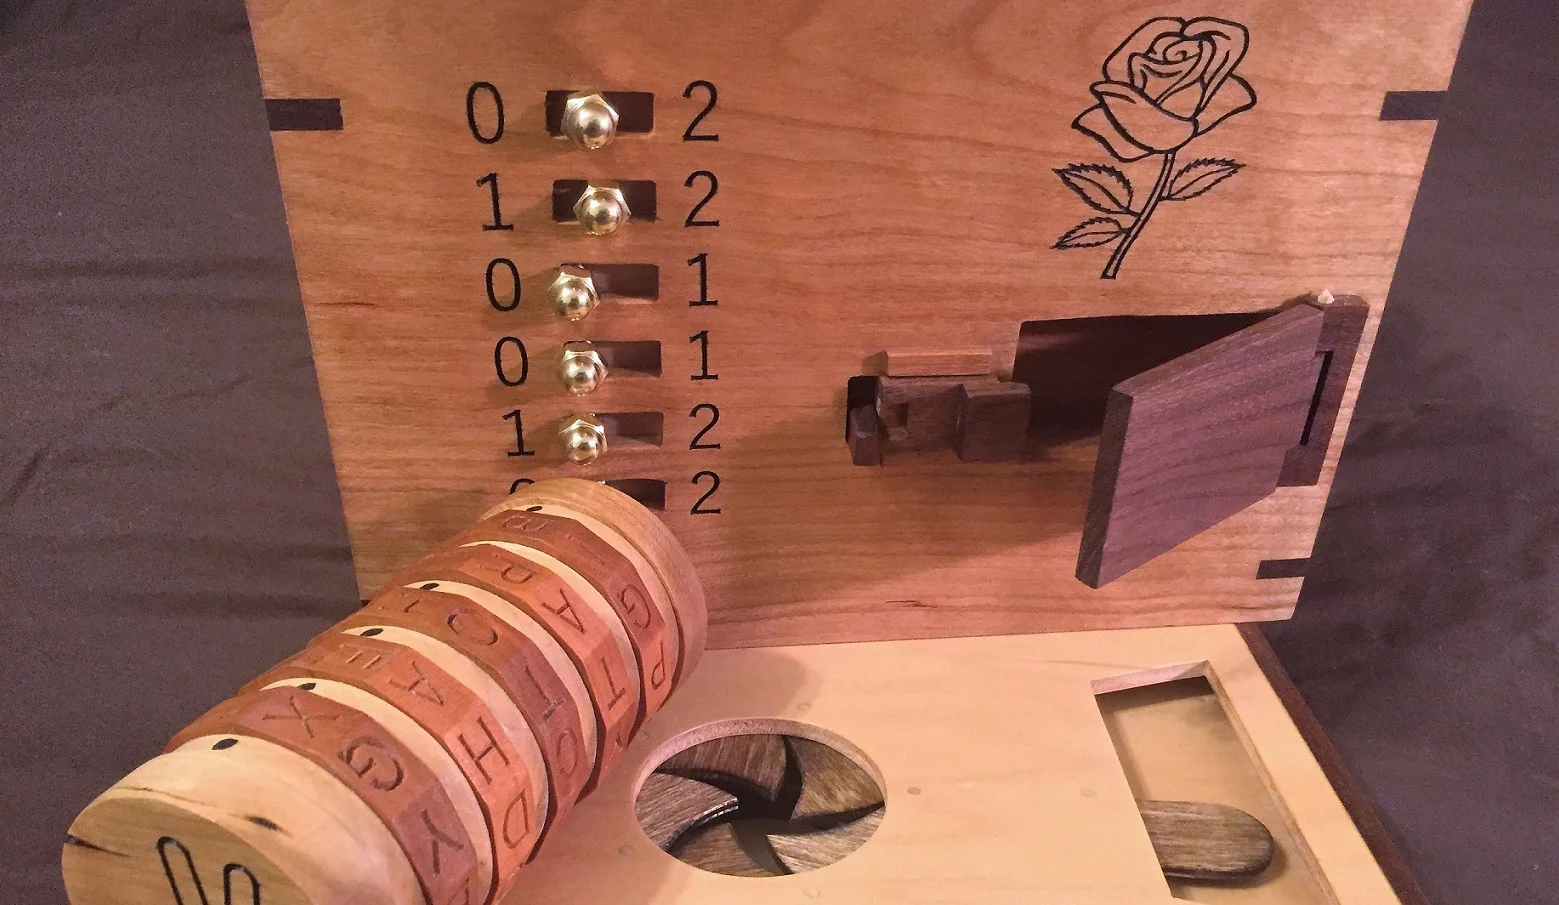
But that’s all done, the kerosene heater is fueled up and running and tools are making noise and dust again. The first thing I wanted to tackle was the lid top for the engagement puzzle box. I hadn’t liked just having the keyholes on it so I made some hearts out of walnut to cover them. Then, a few magnets and washers and I had a great accent that added one more bit of a puzzle to the box. The next step was to add the names and carving. I had wanted to do this with a laser but I was having trouble getting to the site that had it what with timing, costs, classes to learn it, etc. So, since I’ve gotten good with the stencil mask on the CNC I went that route. I purchased several stencil border image packs off Etsy and picked what I like. Then it was a simple matter of getting it right in VCarve, exporting the toolpaths and cutting away. Paint, remove mask and viola, great looking top!
Next up came the task of getting a picture of the couple onto the underside of the lid so you see it when opened. Again, this was meant for laser work, but see above for all the holdups. I did some research, watched a lot of YouTube videos and found several ways to transfer photos to wood. After many tries and failures I got something that worked out nicely.
First was printing with an inkjet onto label paper where the label were removed. The ink won’t try so all you do is put this face down on your wood being careful not the move it, rub it to transfer the ink and viola - great image. Well, not so much for me. Maybe because I wanted black and white or I had too much details or something, but it looked terrible.
Then I tried using water based polycrylic. I only had Generals high durability clear coat on hand, so I put down a layer of that and then pressed a laser printed image (you want laser as its the toner you are transferring) onto the finish, smoothed it out and waited till it was dry. Then you wet the paper and rub it off with your fingers, sponge, toothbrush, etc. It was barely passable.
Then I went and got regular polycrylic satin finish and used that. Same thing, lay down a coat, press the image in, wait till dry and wet and wipe off. It was better but big chunks of the image came away and I wiped away the wet paper.
Then I saw another video that said to gently wipe just some of the paper. Hit it with a hair dryer to set everything, then wet and very gently wipe away again. Repeat until it’s pretty clean and you don’t dare try more. This worked nicely. The image came out looking great, only a bit of the toner came up but nothing that hurt it. Let it dry thoroughly (or use the hair dryer again) and you may still see a lot of what looks like white paper showing up. Don’t worry, spray on some lacquer and that will disappear and just the image is left. Plus the lacquer will sharpen it up.
So that was my Odyssey over the weekend. My foray into crafting, I guess. But hey, we can use all these skills in our work. Why wouldn’t we. We can make great things.
Until next time, stay dusty!