
Hey! I managed to get some shop time this week. It felt sort of novel, actually. Weather was fairly nice which made working in the evenings nicer too. Looks like the nice weather is about over as summer closes in though. I didn't do a ton of work, but I felt good about getting some small but necessary things designed and done. I am liking this weekly update format - it keeps me thinking about what I've done and hopefully I can give some ideas or a bit of entertainment to other woodworkers or creators.

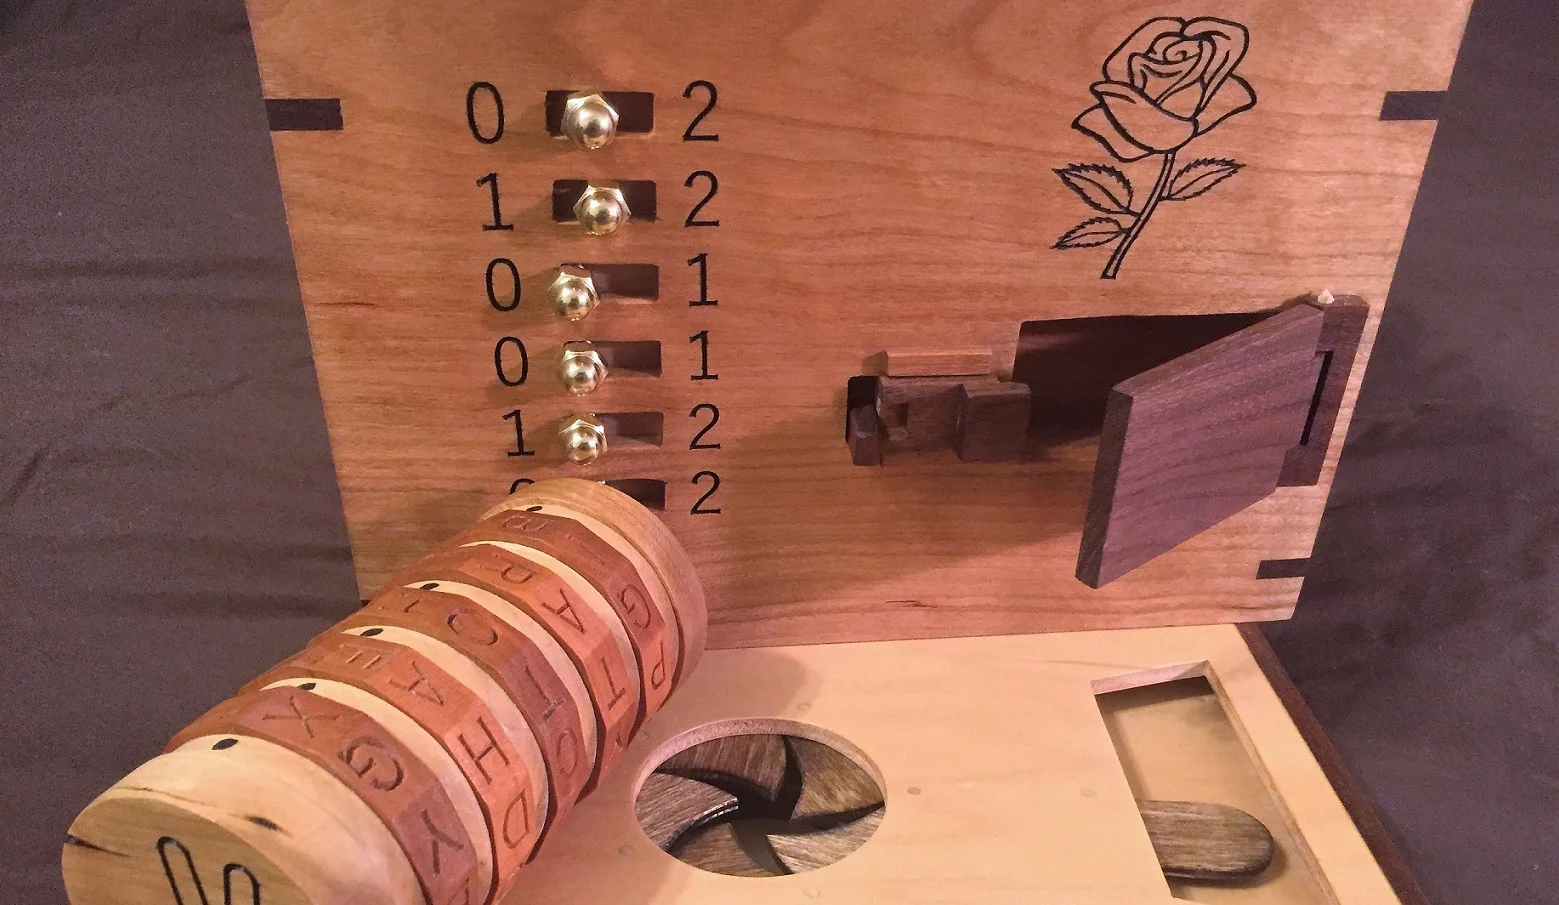
The time this week was spent on work for the engagement box as I close in on completing it. I mainly spent the time working on the lid locking assembly. On the sample lid, I made several incarnations of the lock and key assembly and found the one that worked. This is a fairly typical lock and key that uses a wood spring and a wedge on a pivot to move the locking bar back when the key is turned. I had a few tries to get the wood spring right. It is made from ash and is 1/16" thick. I epoxied the spring into the lock body. I need to adjust (or make a new) piece on the left one here as it's a little short and doesn't extend the spring quite as far. I think it's easiest to make the rotating piece a tad big and then sand it to final size. After the main lock was in place, then I could mark out the hole location for the bars that will actually lock the lid. I just drilled that out near size then completed it with jigsaw and chisel. I want to put a piece across the top of both bars so that it can't ever move in any other direction. The CNC came in handy for making sure the holes for the pivot pins aligned perfectly with the cutouts in the top for the keys.
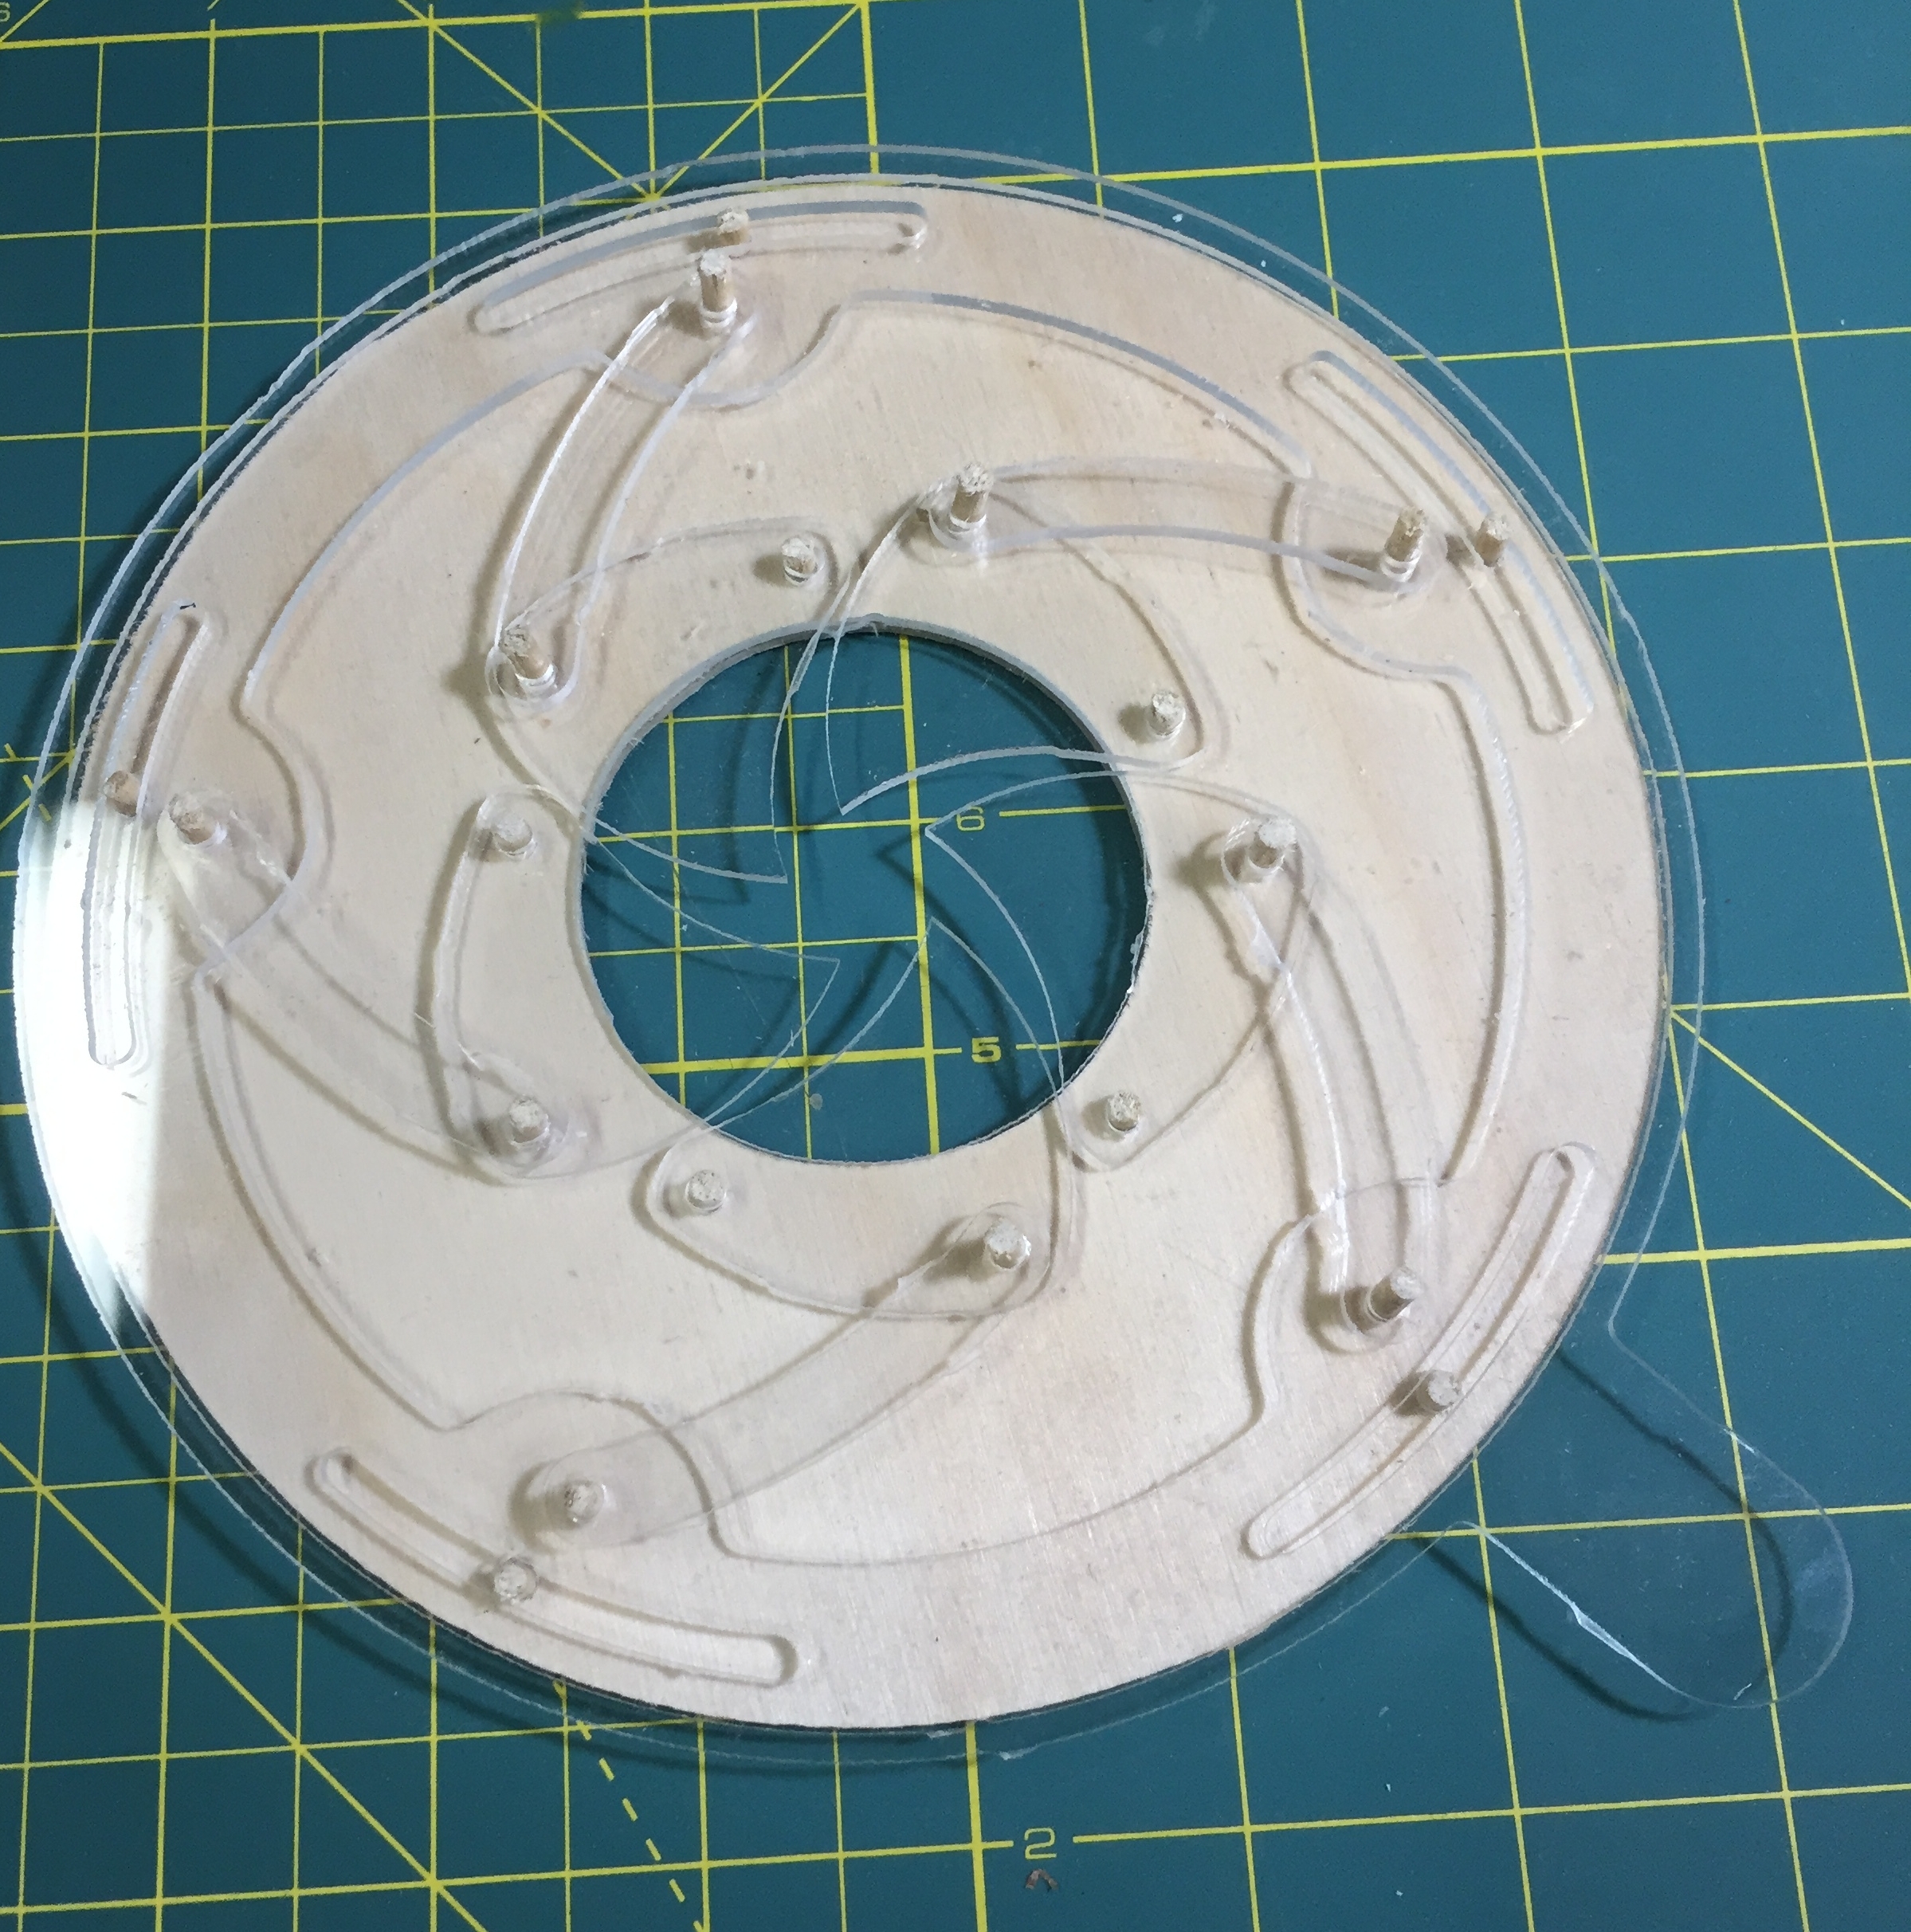
Next up was something fun. I tried cutting acrylic plexiglass on the CNC for the first time. I must say, I expected some type of catastrophic failure, but the result totally surprised me. I had wanted to try cutting an iris mechanism out of acrylic and after getting some advice at my last CNC club meeting, I decided to give it a try. While at the meeting, I picked up and 1/8" upcut spiral - you really want to get the chips away or the plastic will weld itself back. I ran the router as slow as I could, about 8000 RPM and kept a slightly slower feed rate. I also had the dust boot off and was following the bit with the vac. It is very messy, throwing plastic around. I kept a respirator on as this process can release some nasty fumes. My only real problem is that while I had the sheet held down well, since it was thin the middle pieces tried to lift. I should have also stuck it down with some double sided tape. I broke one leaf that I needed to re-cut. I cut the pieces free, assembled them and it worked. It worked fine. I was frankly very surprised. I could do this again.
While at the CNC club meeting I also got a tip on a product called Oramask 813. It is a stencil film that supposedly can take being on a CNC and stay down on even very small parts. It's pretty cheap too, from just $5-15 per roll. I hope with this I can lay down the film, cut the letters and symbols on cipher wheels, paint them then pull off the stencil. I could try different colors on the wheels, all kinds of stuff. I'll post more once I've had a chance to try it out.
Not a bad week as things go. Hopefully I can keep this momentum into next week. Even bad days in the shop are still pretty good. And the only thing worse than a bad day in the shop is no day in the shop. I got some small awards from the day job that I think are going towards something new for the shop too. Stay tuned.
Till next week, stay dusty.