
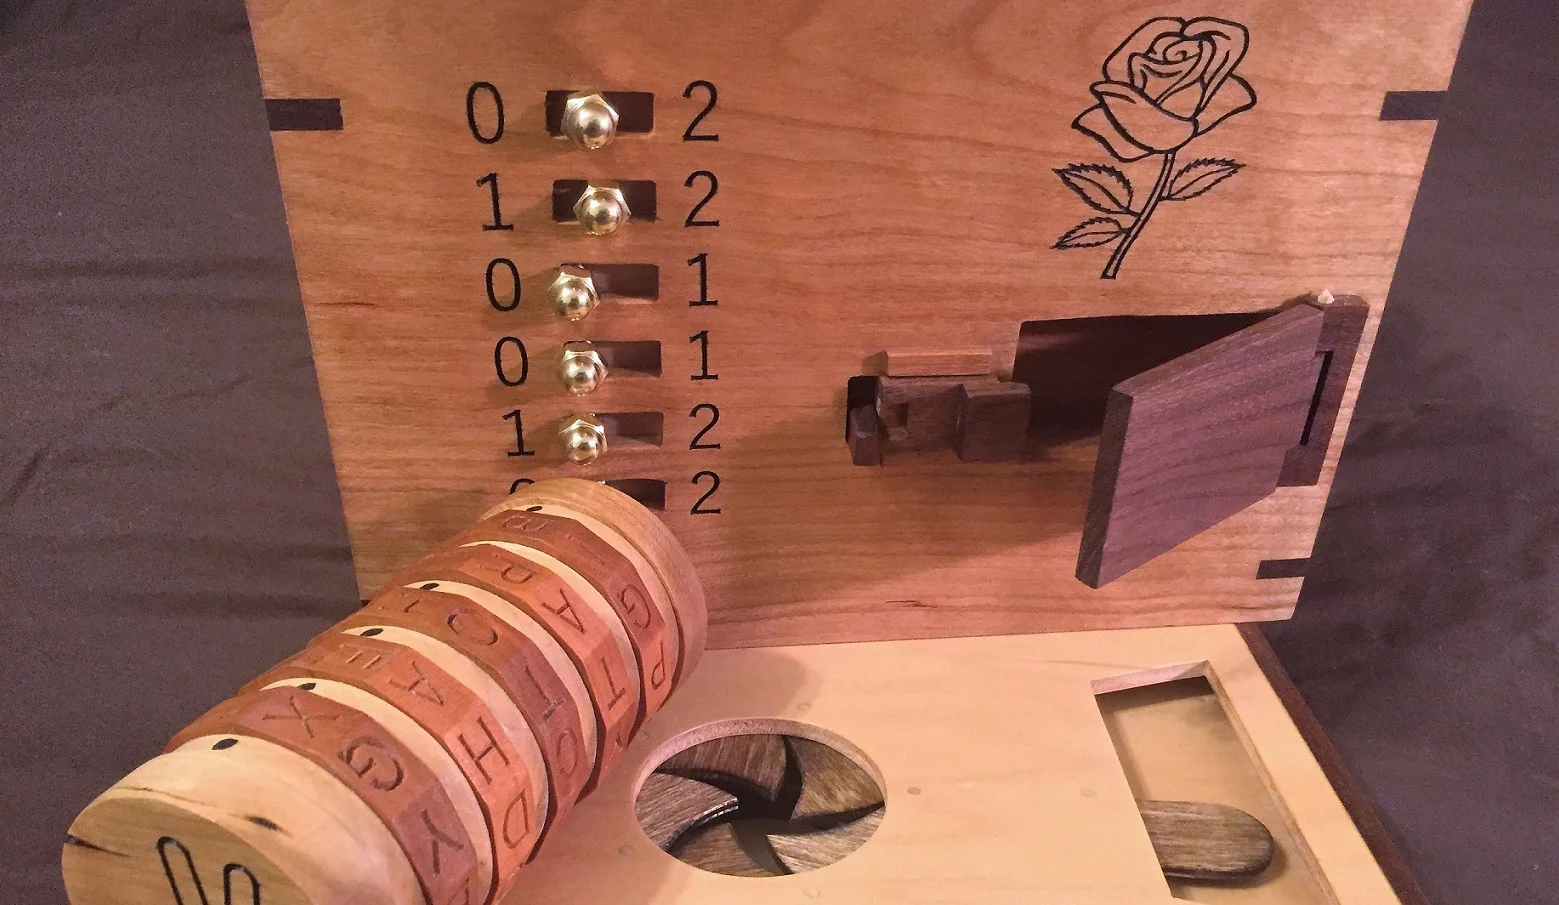
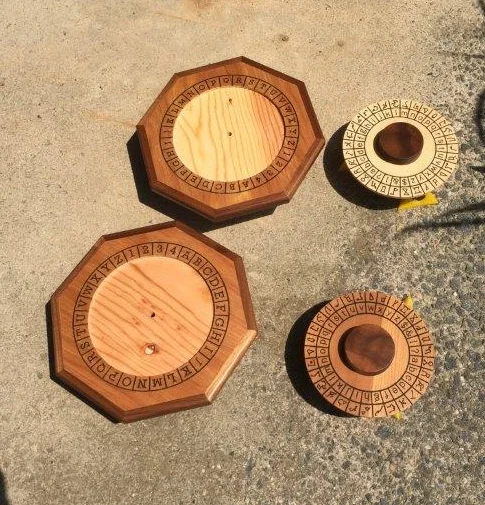
I'm going to call this week "Why won't my finish dry?" Last Sunday I put the Danish oil finish on the 2 constellation cipher wheels and then waited until Wednesday to start the Minwax wipe-on poly. That should have been plenty of time for the oil to cure, it's how how I usually wait. After applying the first coat of poly, which usually dries in 2-3 hours, it was still tacky several hours later. I waited until morning, still tacky. I put them outside whenever I saw the sun, still tacky. Finally got them feeling pretty good by Friday night, put on another coat, same thing happened. Let them sit with a fan on them Saturday, then out in the hot sun on Sunday and they are finally starting to feel like the finish is curing. My thinking is that the US East Coast has had a monsoon season lately and it's very humid. If the oil hadn't completely cured, it could slow down the poly. Plus, humidity can slow down poly curing anyway. So, it's a waiting game. If they get pretty dry, I may just do a final coat of shellac to seal anything away. And here I wanted them listed on Etsy today!

The week was light so I decided to put some time into making a few a things I've wanted. The first of these was a cube beveling jig out of Brian Menold's Wooden Puzzles book. For a guide on how to make cube puzzles, this is a great book. I don't know Brian or have any relationship with him, I just found his book very informative. I whipped up one which is just two little beveled strips glued to a board that has a runner that rides in the disc sanders guide slot. You put the cube in and sand each edge. Keep flipping till they are all done. This makes every bevel the same. When I have a few more free minutes I plan to add another set to the other side with a slightly wider opening so I can do different bevels.

After that I turned to my puzzle makers sled for the table saw, I've needed to get some new attachments done for it, and this was the perfect time. I made new stops that I can use together to make very small adjustments. You can see in the picture the two stops above the right side of the fence. The right most one stays fixed and it's separated from on to the left by some paper spacers. Those bits of paper are around 0.015 inches, so by adding or removing them you can change the distance to the blade and make very small adjustments. And it's as easy as loosening the left stop and making the change and tightening it back down. Then I made the hold down you see on the left into a slotted adjustment so I can position it in more place - here you see it spanning the blade to hold a part in place. Keeps me from putting my hands that close! I took some of the other toggle clamps and made their bases have slotted holes so can put them in more positions. This was just a few hours and some scraps but it makes the sled that much more useful. I have the stops made in both 1/2" and 3/4" thick varieties depending on my needs.
I'll make some more stops and hold downs for the sled. Last time I was at the home store I grabbed a bunch more button head bolts in varying sizes so I have plenty around to hold things on. Good to keep a bunch of these and washers on hand to make the attachments needed!
I also started working on a new project, but this on is writing about the process of woodworking. I'm going to love doing this, I have quite enjoyed keeping the blog up lately and also writing my Creative Thinking Blog. I won't release too many details yet, but there may be some bits and hints over the next few weeks about what I'm doing.
The week had very little major project work, but some good time spent building and maintaining jigs. That's time that can really pay off in the future. I can totally recommend putting time into jig making, it will always help you.
Until next week, stay dusty!