
Building a hinge mortise jig was a great idea. I'm not that great at getting the layout, cutting and alignment done just perfect so that when you put in all the screws the top lines up with the body. Plus, it's fiddly work that can take a long time to do even one box. With a jig, though, wow, layout is fast, every cut is straight and even and alignment is spot on.
It's just a few steps to set up, then everything is easy
- Scribe a line on the top of bottom marking one end of each hinge. Yep, just one is all you need. I like to set the top on some blocks in it's open position and mark both at once
- Use the jig to set the width of the hinge - easily done by putting the hinge in the opening and adjusting the side sliders
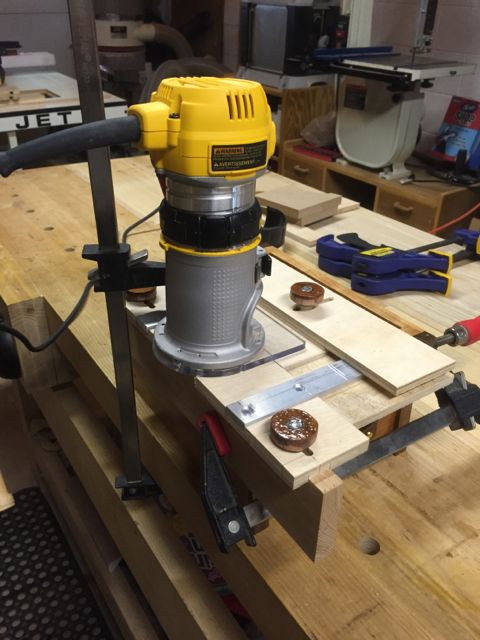
- Set the depth of the hinge - done by putting the hinge on the reference mark on the slider (you can see the scratched lines on the aluminum bar) and adjusting that stop.
- Set the height of the hinge - I use a scrap piece of the same wood as the jig, set that on the router along with the hinge leaf and adjust the bit till it's a hair proud
- Put the fully adjusted jig on the workpiece, align the edge with your reference marks (made early), clamp it down and rout away (It's a good idea to rout in slightly on the right hand side, then back out and rout from the left in a clockwise direction. This helps avoid tearout on the right when you exit the cut.
- If all your hinges are the same, plus reposition and keep routing. They will all be the exact same and nice and square.
I did all 4 puzzles boxes in about 2 hours. While that might still seem long, I would have been lucky to finish one box per evening if working by hand plus I would have fought alignment issues along the way.
Now, what's next?