cnc

Cryptic Woodworks Weekly Update 06 Jan 2019

Wow, the first update of 2019. I hope everyone had a great Christmas, New Years and all the other holidays, whether Merry or Happy. it’s all good. It was nice for me, a few rather quiet days, visit with family, see some friends and even got out to a local art museum I’d never been too. Played a bunch of Hitman 2 (yeah, I’ve been a gamer for a loooong time), drank a bunch and ate a lot of cheese.

Making Puzzle Boxes.jpg

With the break over, it was time to get back to work. Well, actually I was working just before Christmas too. I had wanted to make a set of simple puzzle boxes as gifts. I started these on the Saturday before Christmas. That gave me 3 whole days, piece of cake. Well, the initial construction was easy, small mitered box, grooves for top and bottom, no big deal. But I wanted to locking system to require rocking the box in multiple directions to open it and what seemed simple turned out very finicky. Monday morning I know I wouldn’t make it. So I had to stop that and switch to some fast CNC carved signs. I got a bit creative with pictures for nieces and a friend, did my usual mask, carve, paint and finish all before about 2 PM on Monday the 24th. Then with spray lacquer still drying, put them in the car and headed to see my family. They came out great and everyone loved them. Sometimes our plans are bigger than our available time, eh? Unfortunately, I was in such a hurry I didn’t take pictures of the signs - doh!

Finished Puzzle Boxes.jpg

I did finish the boxes several days later, opting for a more simpler mechanic to open them. Wiped on some Danish oil and set them aside to dry. Now I’m nearly done for next Christmas, I guess. Still need to wipe some poly on after the oil cures, but that can happen anytime.


Ready to make holes.jpg

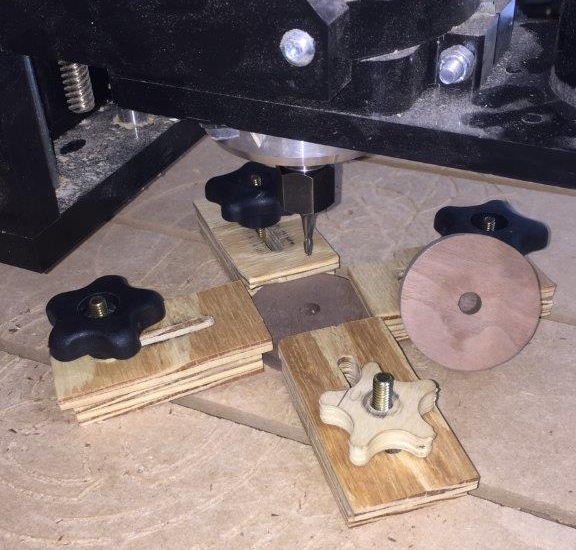
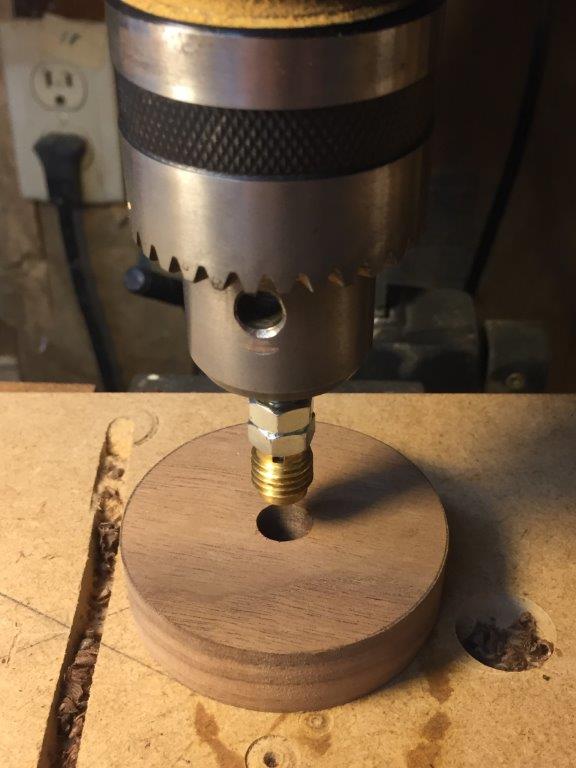
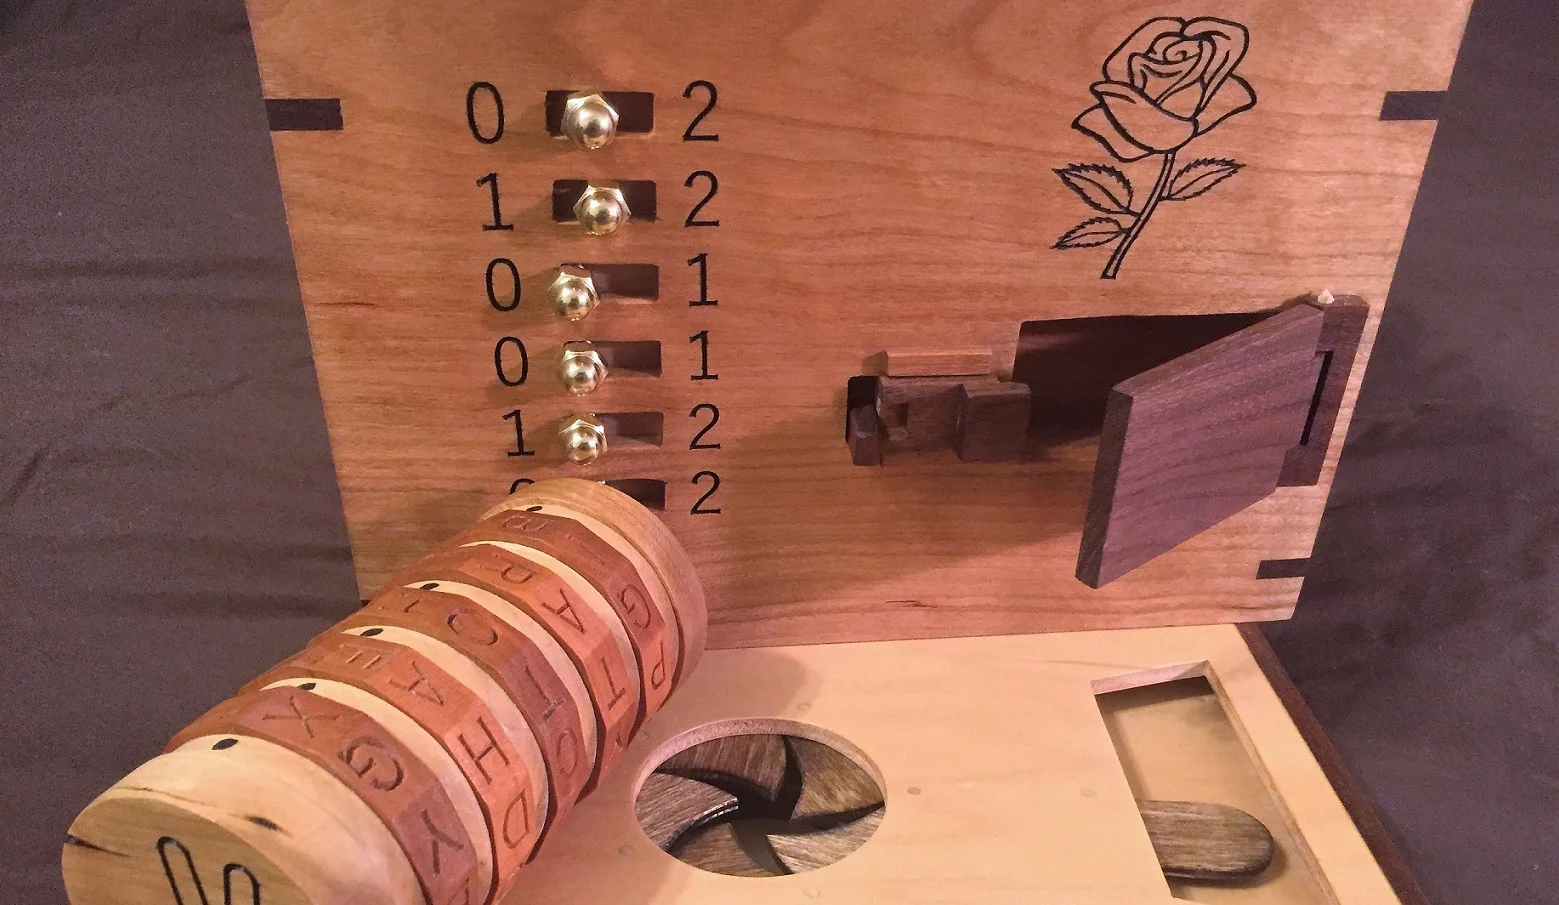
Then it was time to switch back to the engagement box. I wanted to add some decorative hearts to the inside of the lid, so I hand cut a bit of stencil mask, stuck it down and painted them. After that, it was time to steady myself, meditate, calm my nerves, practice steady breathing, etc. Why? Because I had to chisel two holes into the finished box so the top would have something for the locks to latch into and then drill through the sides for the tops pivot pins. So, yeah, I was about to cut holes in a perfectly good box. The side latch areas went smoothly, I just laid them out using my prototype, then carefully chiseled the areas out, taking just a bit at a time. I’d work the chisel around the edges, then chisel a file lines across and pop out the bit. Repeat this till I hit the depth I wanted. It was nerve wracking but went perfectly. Drilling the holes for the hinge pins went well too. I put a bit of tape on the sides so I could mark out the drill point, put a little tape flag on my drill bit to control depth and then just held the hand drill as straight and level as possible (it was too tall for my drill press). Went fine as well, the top pivots smoothly and locks and unlocks nicely. The top also got it’s coats of oil so it will wait a few days for it to cure then get some poly.

The engagement box will be done soon then. I’ll do some heavy use testing, make sure everything works perfectly. Then I’ll give it a nice photo opp, shoot some video and send it on it’s way. I’ll miss the little fella, it’s been a real part of my life this last year and a half.

I’ve got a sign to make now. Plus I have an old set of partially done puzzle boxes I’d like to unearth. I’d really like to get going on some new designs too. I have stock milled up for another set of boxes which I need to figure our the puzzles and locks and mechanisms for. So I’ll be keeping busy.

Conurers Alamaq.jpg

In the puzzling world I have a copy of The Conjurer’s Almanaq which is a kickstarter puzzle book. It shipped just before Christmas. I must say, I’m apparently better at creating puzzles than I am at solving them. I’m still on the first chapter and pretty well stumped. This is a puzzle hunt book, so you first have to find the puzzle, then solve it. Pretty sure I found the puzzle but a half dozen different solution attempts didn’t turn up anything that seemed right. Guess I’ll just keep working at it. It’s fun to try and I’m under no time pressure to solve it, that’s for sure.

Until next week, stay dusty!

Week Ending 29 July 2018

Where oh where has the week gone?  I could swear it was just Monday.  This happens far too often when you're an independent woodworker with a day job and a variety of other personal duties.  We try our best and we find times to still make a bit of dust.  And I managed to get some quality time in the shop regardless.

I have two of the new cipher wheels with the constellations on them oiled and drying.  The main work here was to carve the second one, get it painted and then cleaned up.  Then came time to make the dials that let you turn the inner disc.  These are just two discs made from 5/8" walnut.  I went simple and these and just drew them with a compass, cut them on a jig saw and sanded to my lines. 

Where I added some challenge was to make a hole in the center to hold a threaded insert.  I wanted a flat bottomed hole down to 1/8" from the bottom.  Regular brad point drill bits would have their points go through that last 1/8".  So, I mounted them in the CNC and made a quick program to cut them.  I had to put in a v-bit so I could align it's point with the center of the disc (from the compass), clamp it down then switch to a 1/8" spiral and make the cut.  Sure, it was probably overkill, but it worked great.

I installed the threaded inserts back at the drill press.  It's helpful to have another set of hands or clamps here (I had a wife!).  I cut the head off a 1/4 20 bolt so I could put it in the drill chuck them put the insert on it with a few nuts to hold it in place.  From here, lower the quill and turn the chuck by hand.  I repeat, turn this by hand!  Pressure on the quill while turning sets the inserts totally straight.  It's a great way to get the job done.

Constellation Cipher Wheel Oiled Small.jpg

Last was a bit of sanding, glue on the dials and then put a few coats of danish oil on all the parts.  Wipe them dry a bit later and now I'll let them cure a few days before top coating with some wipe on poly.  They oughta look great then as I get them posted to Etsy.  Oh yeah, after doing some photography.  Making some new videos would be cool too.

I'm also looking for other alternatives for laser work to finish off the engagement box commission.  The shop I wanted to use is closed while they move and it appears they are taking longer than expected.  Made some calls and have a new person to see this week.  We'll see.  I had hoped to use the Fab Lab maker space so I got the experience of using the laser.

That about did it for the week.  Not a lot happening, but really good to see some projects move along.  Progress is progress, always good to look at it that way.  Each day brings new challenges, new failures but new successes as well.  It's the successes we have to keep our eyes on.  Failures are just there as guides on what not to do.

Until next week, stay dusty!

Week Ending 22 July 2018

This week was mostly about drawing, but fortunately drawing for use in woodworking.  I recently purchased as Wacom Intuos drawing pad because I had wanted to get better at drawing and found I can use it for woodworking drawings too.  I have wanted to make new symbols for use on the cipher wheels and after a bit of looking and searching I decided to make a set of constellations.  These are similar to what you'd see watching the old Stargate show (love that show, hope it comes back sometime!).

Cipher Wheel Constellation small.jpg

Using the pad and another tool, Autodesk Sketchbook (currently free for hobby/student use) to draw all the constellation symbols.  I used some pictures found around the web as a guide.  The trickiest part is getting the thickness of the lines right as these will turn into v-carve paths for the CNC.  Sketchbook has tools for drawing straight lines or circles plus all the freehand methods.  It was a combination of both, some guided drawing then a bit of free hand to fine tune.

Once I had them drawn, I could save this as a .TIFF file and moved over to V-Carve (I use desktop 8.5, I should upgrade at some point).  Here I can import the tiff file and then trace it.  Since I drew the constellations as solid black shapes they traced well and I didn't need any editing.  All that was left was to group the right lines to make the full constellation and then arrange them around the ring, create the toolpath, export and carve away. 

I used the Oramask again and got some very nice cutting.  I found if I slowed down the CNC a bit I had less of a chance of lifting the mask.  It does add some time, but I'd rather wait a few more minutes than fix issues.  All the usual followed - paint, wait, peel off all mask and marvel at the new piece.  It came out looking great!  Painting did take a while, lots of little bits to fill in.  I tried a sample with spray paint but that has a tendency to bleed (maybe due to the alcohols in it).  Maybe I can get around that by first sealing with some spray shellac first.

I also carved a second center but didn't have time to paint it.  I had a few chip out spots I'll need to fix first (cut and stick little pieces of the stencil mask) before painting anyway.  I did mill up some new edging and wrapped the cipher wheel body.  Soon I'll have two new cipher wheels with the constellations as one of the cipher languages!

The other shop work was a bit of maintenance - coating the cast iron surfaces with some Boshield T9.  I've used that for several years now with pretty good success.  Spray on, wipe off and then I find after I wait a few hours I have to buff it down as it dries a tad sticky.  After a light buffing it gets nice and slick again.

Bit light this week, I know.  I'm hoping the Fab Lab is open again so I can get there and do the laser work for the engagement box and wrap that project up.

Until next week, stay dusty.

Week Ending 17 June 2018 Update

Hey!  I managed to get some shop time this week.  It felt sort of novel, actually.  Weather was fairly nice which made working in the evenings nicer too.  Looks like the nice weather is about over as summer closes in though.  I didn't do a ton of work, but I felt good about getting some small but necessary things designed and done.  I am liking this weekly update format - it keeps me thinking about what I've done and hopefully I can give some ideas or a bit of entertainment to other woodworkers or creators.

Engagement Box Lid Lock Assemblies.JPG

The time this week was spent on work for the engagement box as I close in on completing it.  I mainly spent the time working on the lid locking assembly.  On the sample lid, I made several incarnations of the lock and key assembly and found the one that worked.  This is a fairly typical lock and key that uses a wood spring and a wedge on a pivot to move the locking bar back when the key is turned.  I had a few tries to get the wood spring right.  It is made from ash and is 1/16" thick.  I epoxied the spring into the lock body.  I need to adjust (or make a new) piece on the left one here as it's a little short and doesn't extend the spring quite as far.  I think it's easiest to make the rotating piece a tad big and then sand it to final size.  After the main lock was in place, then I could mark out the hole location for the bars that will actually lock the lid.  I just drilled that out near size then completed it with jigsaw and chisel.  I want to put a piece across the top of both bars so that it can't ever move in any other direction.  The CNC came in handy for making sure the holes for the pivot pins aligned perfectly with the cutouts in the top for the keys.

Acrylic Iris.JPG

Next up was something fun.  I tried cutting acrylic plexiglass on the CNC for the first time.  I must say, I expected some type of catastrophic failure, but the result totally surprised me.  I had wanted to try cutting an iris mechanism out of acrylic and after getting some advice at my last CNC club meeting, I decided to give it a try.  While at the meeting, I picked up and 1/8" upcut spiral - you really want to get the chips away or the plastic will weld itself back.  I ran the router as slow as I could, about 8000 RPM and kept a slightly slower feed rate.  I also had the dust boot off and was following the bit with the vac.  It is very messy, throwing plastic around.  I kept a respirator on as this process can release some nasty fumes.  My only real problem is that while I had the sheet held down well, since it was thin the middle pieces tried to lift.  I should have also stuck it down with some double sided tape.  I broke one leaf that I needed to re-cut.  I cut the pieces free, assembled them and it worked.  It worked fine.  I was frankly very surprised.  I could do this again.

While at the CNC club meeting I also got a tip on a product called Oramask 813.  It is a stencil film that supposedly can take being on a CNC and stay down on even very small parts.  It's pretty cheap too, from just $5-15 per roll.  I hope with this I can lay down the film, cut the letters and symbols on cipher wheels, paint them then pull off the stencil.  I could try different colors on the wheels, all kinds of stuff.  I'll post more once I've had a chance to try it out.

Not a bad week as things go.  Hopefully I can keep this momentum into next week.  Even bad days in the shop are still pretty good.  And the only thing worse than a bad day in the shop is no day in the shop.    I got some small awards from the day job that I think are going towards something new for the shop too.  Stay tuned.

Till next week, stay dusty.

Week Ending 13 May 2018 Update

This week was marked by finishing, fitting and finishing some more.  The 6 new cipher wheels are nearly wrapped up, the last coat of finish is drying.  Fitting them took a bit of work.  Getting one circular disc to run perfectly from a center pivot in a circular opening takes a bit of work.  Even tiny error mean it won't run totally true and need some sanding and adjusting.  I err towards the side of easier turning so that nothing can bind up over time.  

Finish strategy for the cipher wheels is to spray the carved wheels with shellac, let it dry then coat with a dark stain and wipe off.  I used General Finishes Nutmeg on these.  The shellac fills the carved areas and the shellac keeps it from penetrating the surfaces much.  Let them dry a good 4 hours.  The edging was pre-finished with Danish oil then cut to size, mitered and attached.  After everything was good and dry I top coated with 3 coats of Minwax wipe on poly.  Finally, I could wax the movements and assemble, using a bit of blue Loctite to keep the wheels in place but still turning.

While the finishing supplies were out I also top coated the puzzle box I am making as part of a commission.  It went on well and looks great.   Just two coats were needed for this.  This leaves me with just the top to make and that needs some laser burning on it.  I'm still working on how I want it's lock to work.  I'd like to do something with magnets, but I'm also thinking something spring loaded.

I also had a meeting of a new CNC club that should be fun going forward.  Knowledgeable group of people and fun too.  We spent some time discussing the types of problems we've run into and how to solve them.  Operating a CNC is the kind of thing that has a seemingly endless series of things that can go wrong.  My last problem was while making some cipher wheels - I had the router off with the pencil tip carving bit when I when I told it to start. The gantry moved that bit even though it wasn't spinning and there went $30.  Such is life.

Lastly was recording a new video for using the latest cipher wheels.  This one is about numeric shift ciphers.  Only took 3 tries to record a good one.  I still need to edit and upload it.  I certainly want to do more, using the symbols, numeric keyword shifts, symbol rotation, etc.  Lots of fun stuff to come.  I also want to add pages to the website to categorize and explain different encoding techniques.

Until next week!